Posted on Leave a comment

Thanksgiving Mushroom Log Clinic 24′

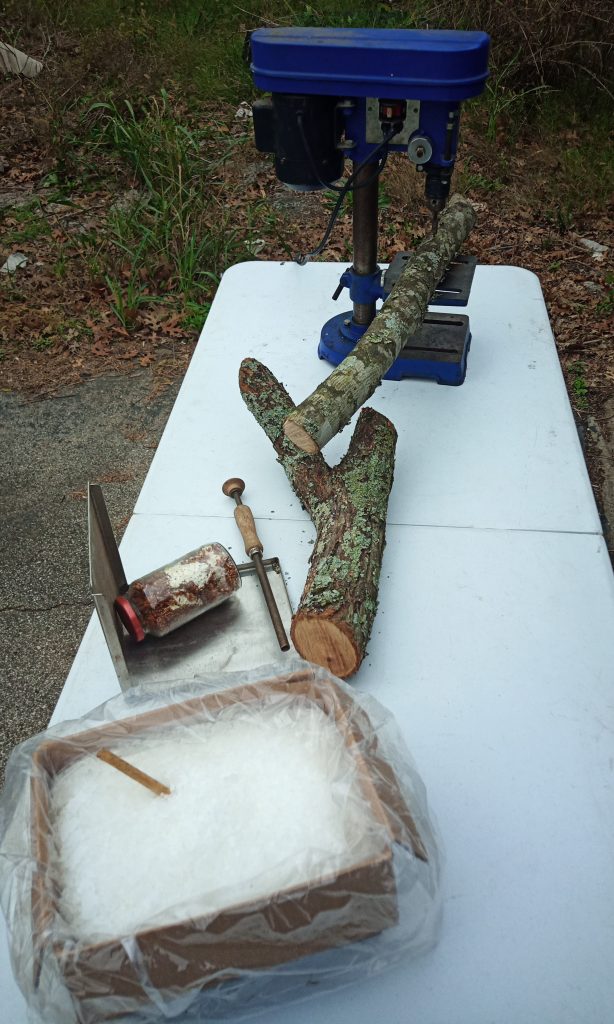
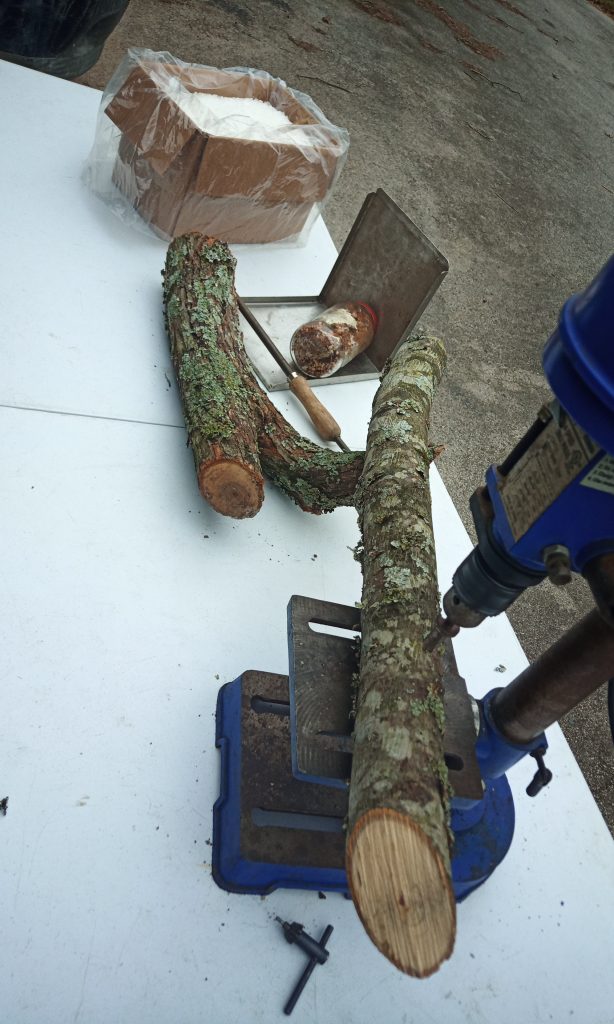
Pilgrimage Farm is offering a FREE, hands on instructional session about mushroom cultivation on logs. Purchase your log by the pound, many to choose from, they range from $5 to $20! Then hang out and learn how to turn it into a delicious treat for years to come. You can choose to do nearly all the work yourself, just the “easy” stuff, or you can take the log, spawn, and wax home to do yourself. I will even have some pre-finished so you can buy one that I have all ready to grow.

All Thanksgiving weekend, from Thursday November 28 thru Sunday December 1st

Space is limited, Please fill out the form below to reserve your spot, it is first come first serve


Posted on Leave a comment

Pop! or Soda?

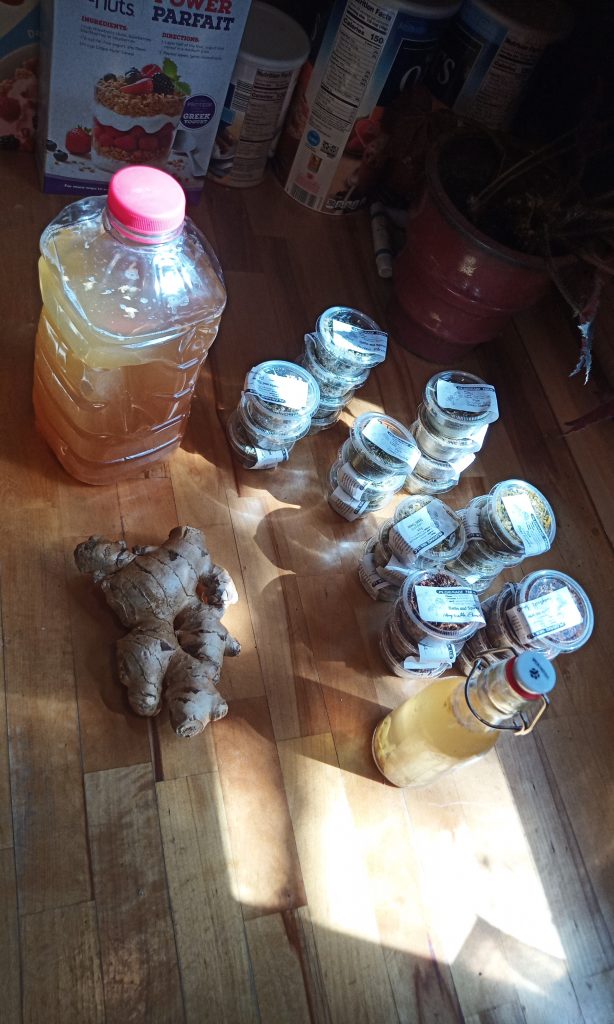
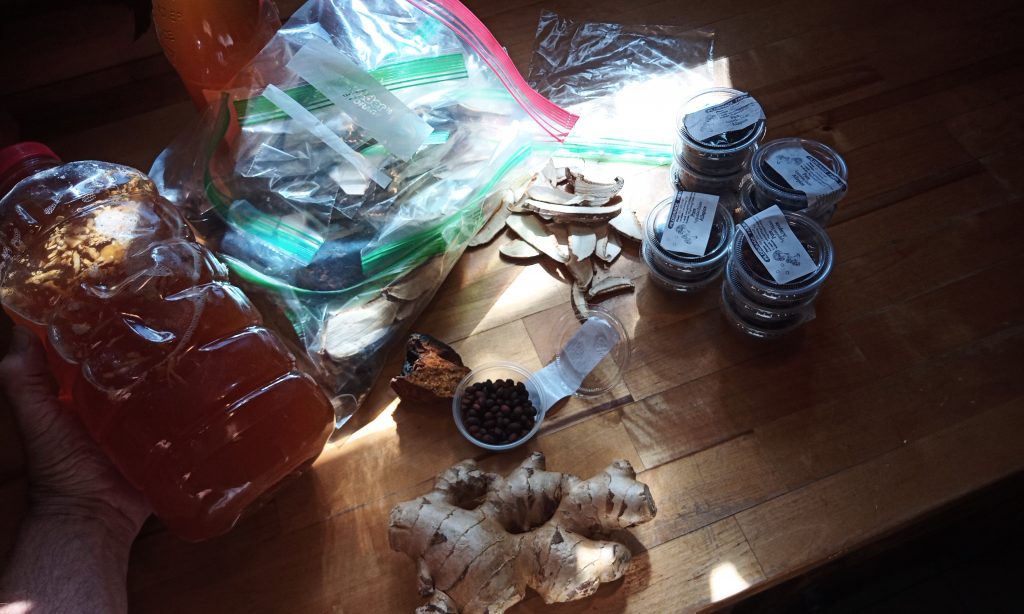
Fermenting with home grown ginger bug

Honestly, I dont remember which way mom thought it should be, I think she said that soda is just seltzer water, and pop is the sweet bubbly drink. She married a man when I was like 8 and he said the other one… Either way, what I make at home is really neither. I will lay out my method in 2 stages, a basic recipe for the base, and then seperate herbal recipes to use with the base. Below is the recipe for the base, you can scale it, maintaining the proper ratios to suit your needs. Sugar is actually really important in this, the bug needs food, and you are going to kill off most of the food it would eat in the process, so sugar is needed to affect the fermentation process. If the end result is too sweet for you, then after fermentation is complete you can simply add some cold water when serving to taste.

Part 1, the base recipe

  • 1 Gallon Water
  • 2 cups sugar
  • 2 oz fresh ginger
  • 1 cup Ginger Bug (pre made)

Ginger Bug is easy to catch and keep, there are a million blog entries on how to do that so I will ask you to get up to speed with that and have it on hand before proceeding to make this recipe.

Simple, just use filtered sterile water add the sugar and dissolve it completely then boil the mixture. Clean the ginger well, but do not peel it. Now get your Ginger Bug ready, if it is in the fridge, take it out, feed it a little sugar, shake it up good and set in a warm spot to boost the growth while your cooking the mix. When your mixture is boiling good, remove from the heat and grate in the fresh ginger, and add your prepared herbs from the part 2 recipe. Cover and steep the brew until cooled below 90 degrees F.

Once you have on hand basic ingredients, like the Ginger Bug starter, sterile water, sugar, and ginger you can get creative with your own blend of herbs!

Part 2, Herbal blends

Spicy Birch (mushrooms)

  • 1 oz Chaga mushroom chunk
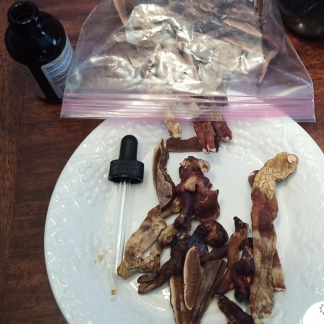
  • 1 oz Birch Polypore mushroom dried
  • 1 oz Appalachian Allspice dried

Wild Flower Herbal

  • 1/4 oz Golden Rod flowers dried
  • 1/4 oz Honeysuckle flowers dried or wild Rose Hips
  • 1/4 oz Yarrow flowers dried
  • 1/4 oz Green Sassafras sapling bark dried

Wild Berries

  • 1/4 oz dries Fragrant Sumac berries
  • 1/4 oz dried Eastern Red Cedar Berries
  • 1/4 oz Green Sassafras sapling bark dried

Everything

  • All the above ingredients combined ground into a coarse powder, I use about 1/4 cup per gallon

YOU can make your own blend too! The basic requirements are met entirely by the part 1 recipe. I like to use all dried ingredients for the part 2 herb blend, not fresh. It is important to remember a few things when brewing a Ginger Bug soda.

  1. dont kill the bug… make sure your bug is healthy and hungry, awake and ready to feed. I check the temp of my brew with a cooking thermometer before adding the bug.
  2. dont kill the herbs, the dried herbs should reach a good pasteurization temperature by adding them after the fresh ginger has been grated into the water just after boiling stops.
  3. CLEAN and well sealed containers for fermentation are critical, and remember that plastic is ok to use, but can explode under the pressure created in a stout sugar ferment.

Choose your container carefully, be sure that you will fill the container over 90% full. Swing top glass bottles are probably the safest option, I hate having to pack the fresh grated ginger from the bug in thin neck bottles so I like to use half gallon food grade plastic jugs with a wider mouth. You can use plastic, just be sure to burp it if it starts blowing up like a balloon.

Now that your brew is cooled down, your bug is ready and your containers are clean you want to have the prep all done, and hopefully the workspace is recently cleaned and aired out. Setup a mesh strainer on a large clean pitcher and strain off the herbs from your brew, I like to drip dry my herbs and dehydrate for use again later. Time to give the ginger bug one last stir and add it to your brew, complete with the pulp. Stir the mixture and distribute to your bottle or bottles, again be sure to get some pulp in every bottle and fill the bottles about 90% full. When full, go ahead and wipe the tops clean with sterile paper towel and close/seal. Ferment your brew in a warm and relatively dark spot, I like to set mine on a slight incline on top of my fridge, a dishrack works well for this. Check your ferment every day if using a plastic bottle and burp very carefully if needed. If you ever do expand a plastic bottle like a balloon, discard it after your done with that brew, it is NOT safe to use that bottle again.

3 to 5 days later

Posted on 1 Comment

Vegan Lobster Bite Hushpuppies

  • Corn Meal 1 1/2 cup
  • Flour 1/2 cup
  • Baking Powder 2 tsp
  • Baking Soda 1/2 tsp
  • salt 1 1/2 tsp
  • water 1 cup + 3 tsp
  • falx seed 2 tbsp
  • Lobster Mushrooms 1/4#
  • olive oil 1 tbsp
  • Chile Pepper 1 each

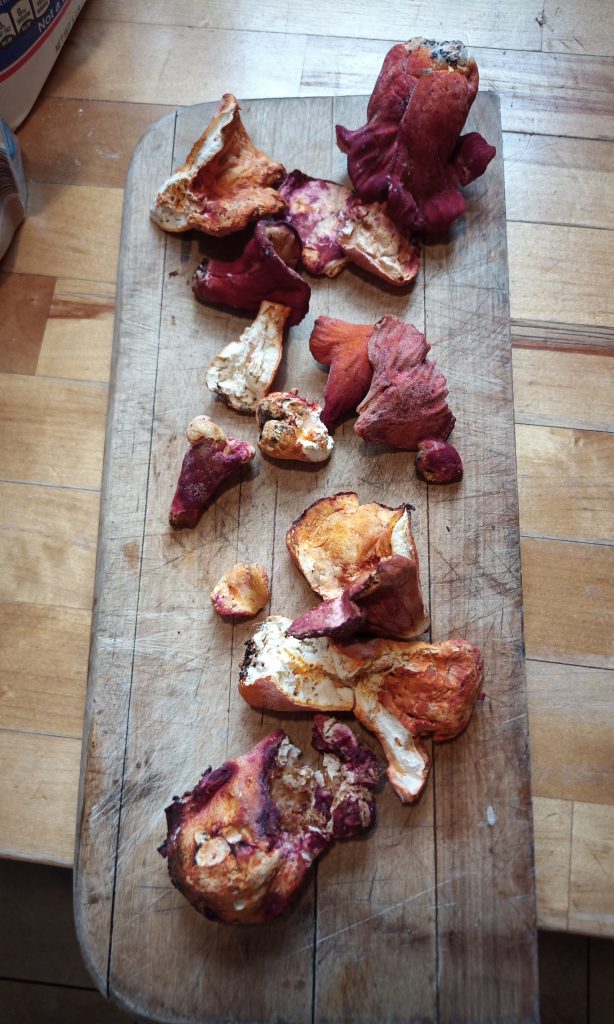
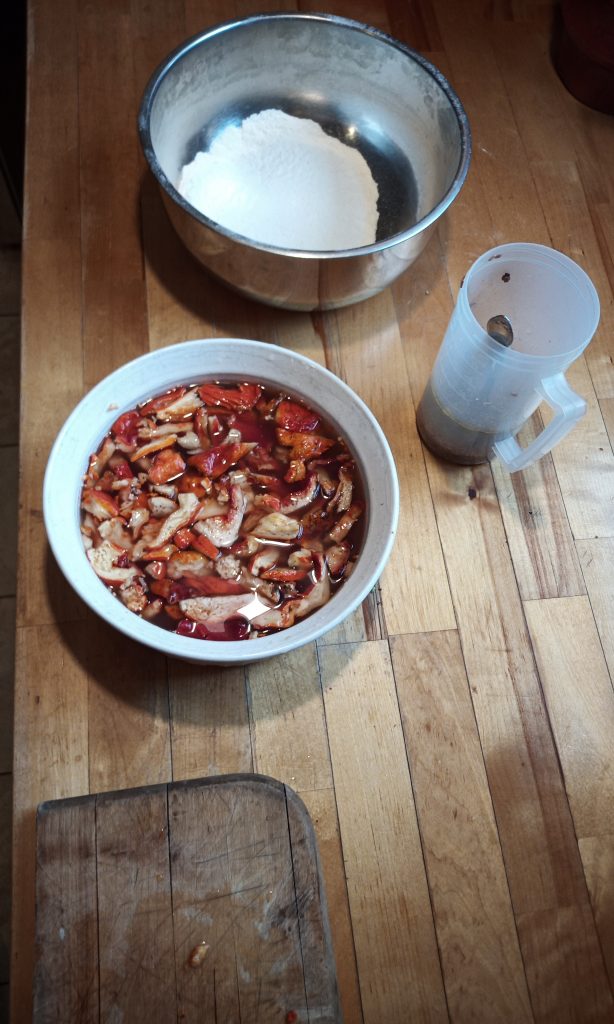
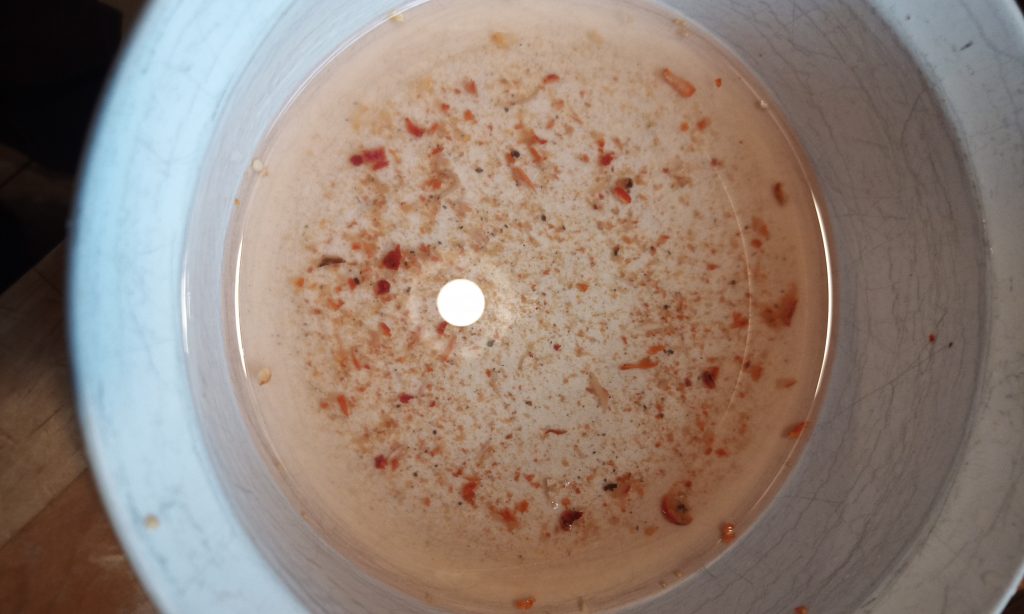
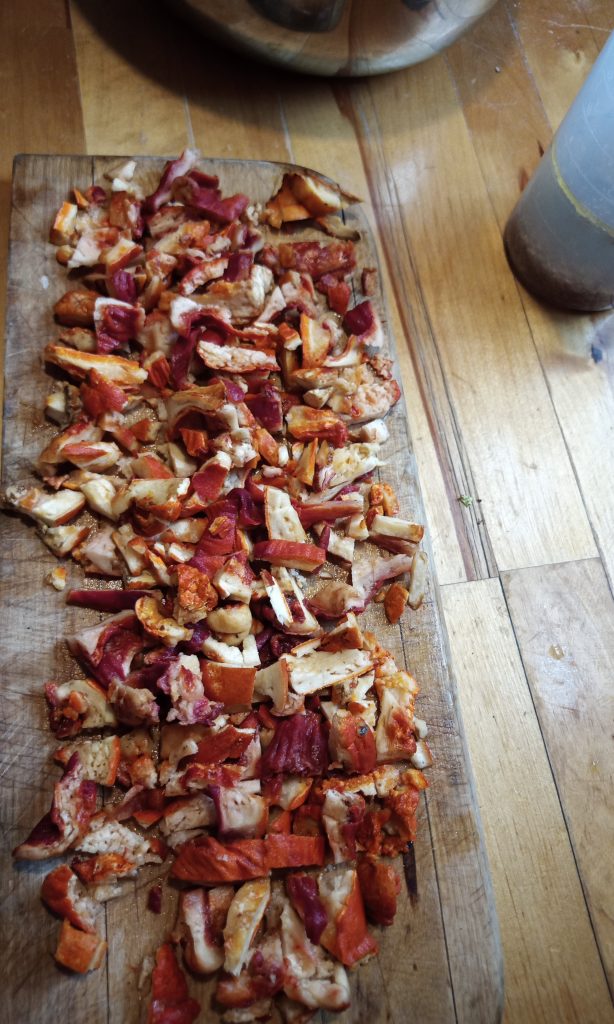
First step in working with lobster mushrooms, or any wild mushrooms is to cut, clean, and evaluate them. Typical findings of some evidence of insect damage is normal, when working with lobster mushrooms, it is very important to soak the cut pcs in water prior to use, they always have some “grit” and that rinses right out when done properly.

Now that you have the mushrooms “soaking” you can do the remaining prep. Combine the water, room temp is fine, and the flax seed, add olive oil and set aside to thicken. Next, sift the dry ingredients together. Finally chop the chile fine.

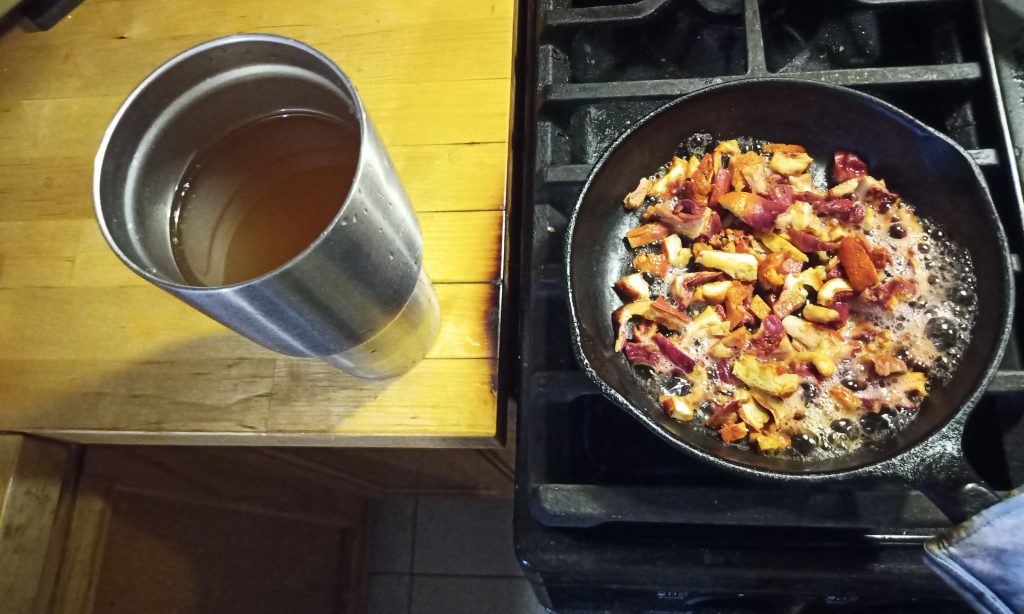
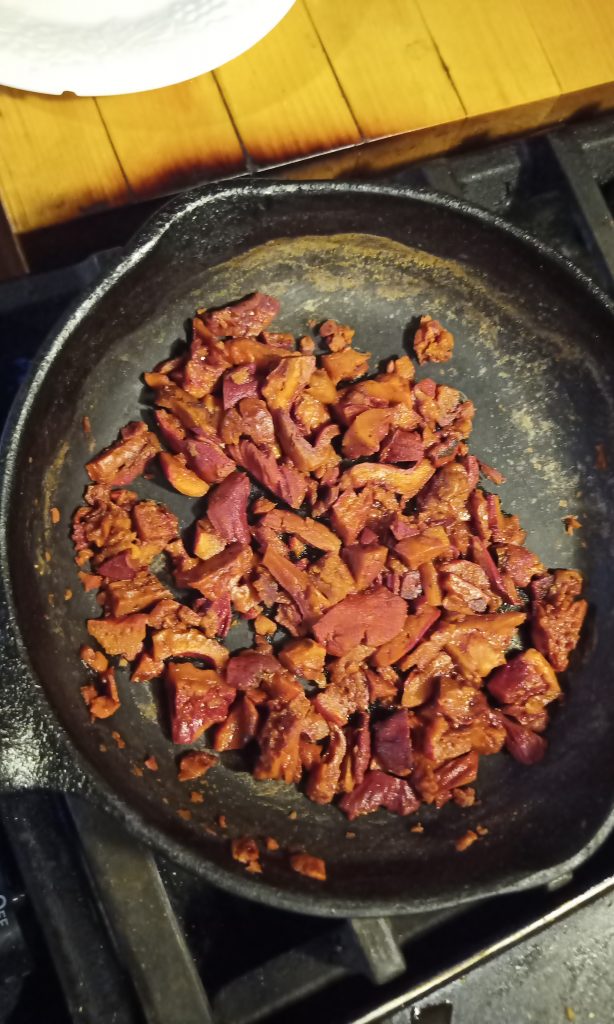
After about 20 min, the lobster mushroom pieces should be cleaned up, gently tap them in the water and then lift out and transfer to cutting board. Now, strain all but the last 1/4 cup the soaking liquid and reserve. Heat a cast iron skillet over high heat and go ahead and chop the lobster mushroom pieces to fine pieces. Place the mushrooms in pan and allow to heat, add some reserved liquid and let cook until dry. Repeat the process until all the reserved liquid has been used, the mushrooms should now be a deep pink in color. Remove mushrooms to a plate and combine with chile pepper, place in fridge until completely cooled.

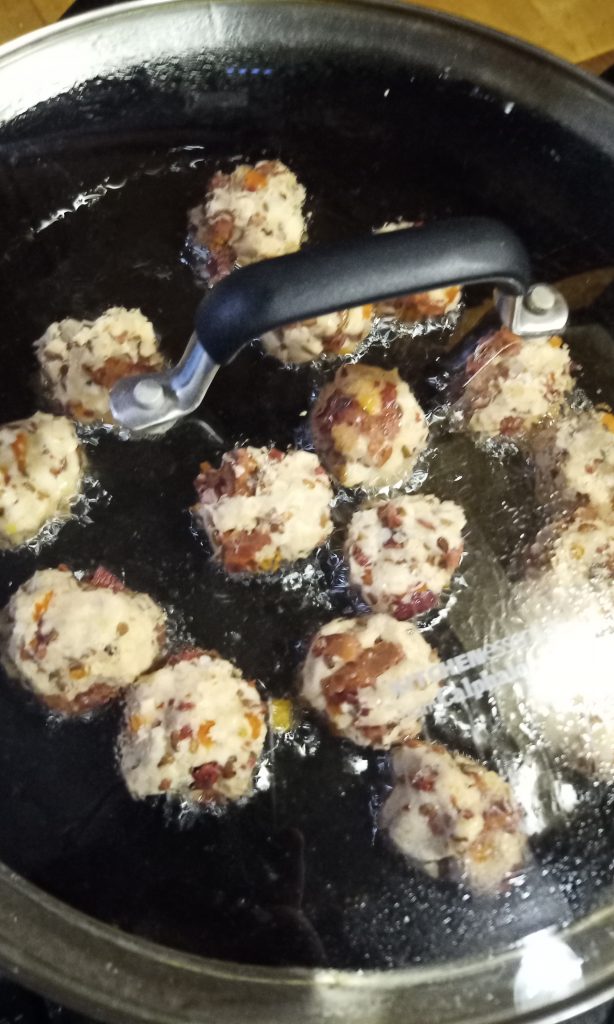
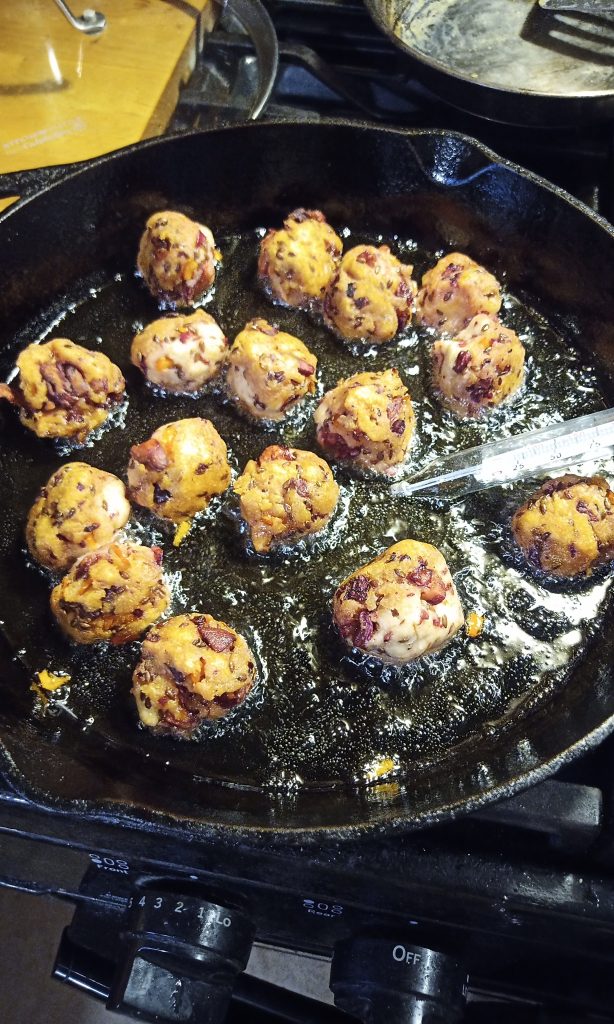
Heat oil 1/4″ deep min in a cast iron skillet to about 375 degrees. Combine the ingredients to make the hushpuppy dough. Spoon balls about 3/4″ in diameter into the oil, the temp will drop to 325 to 350. Cook 3min covered, then rotate, repeat 5 times for total cooking time of 15 min. Remove golden brown hushpuppies from oil, place on paper towel to absorb extra oil, let rest 5 min and serve with cocktail or BBQ sauce.

MAKES about 30 Hushpuppies, serving up to 6 adults

Posted on Leave a comment

Lobster Mushroom FEST!

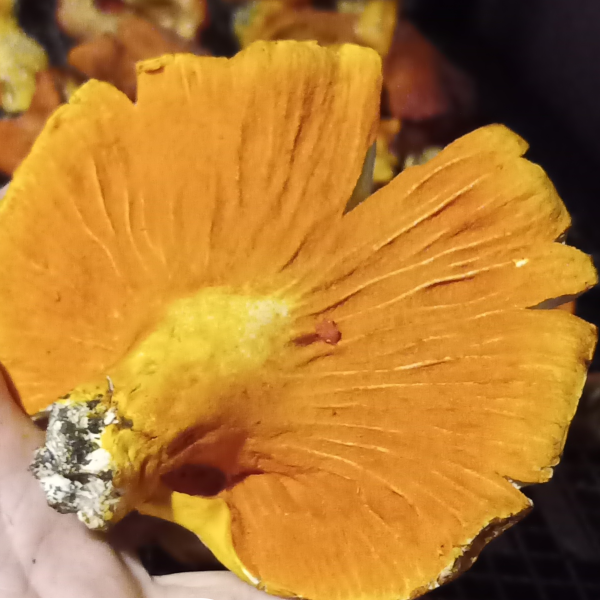
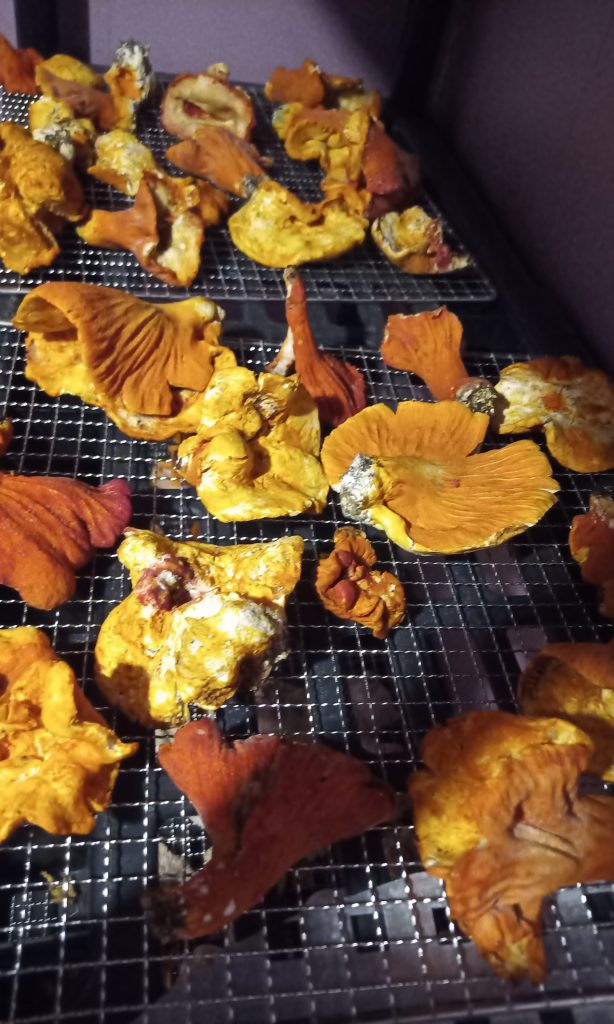
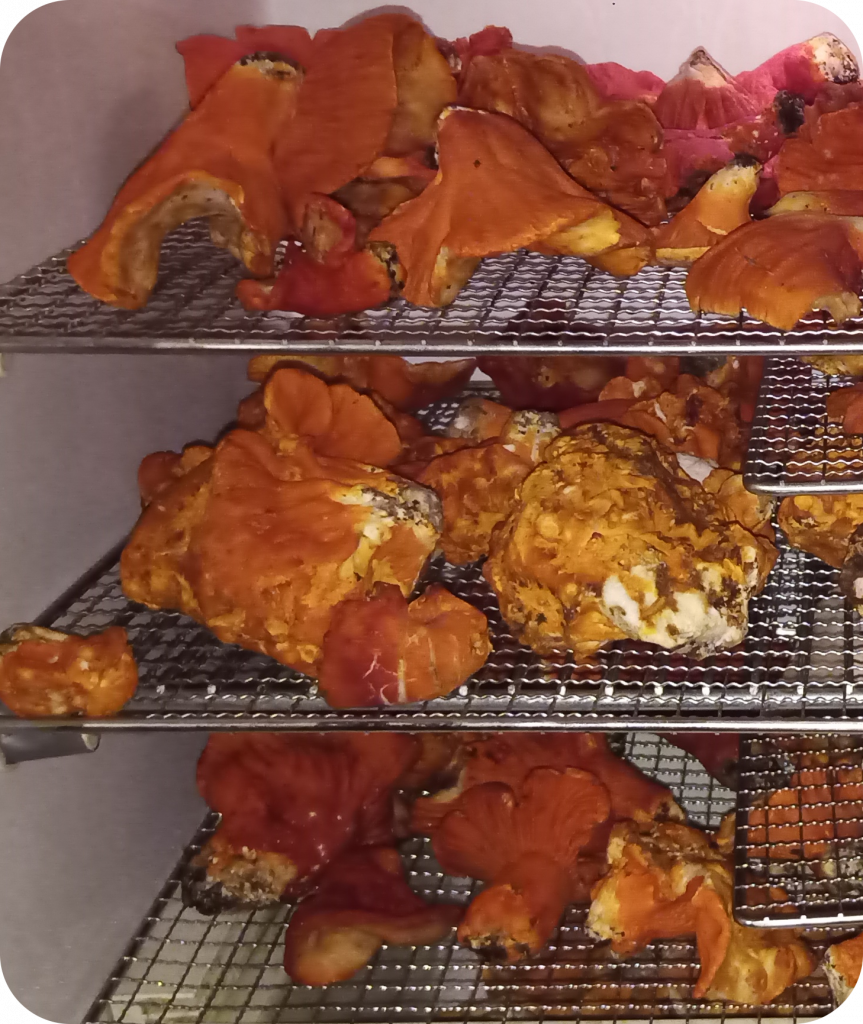
This year I really hit the sweet spot for Lobster Mushrooms!

Did YOU get some of these at market yesterday?! Will the gourmet community step up and Expand THEIR Palates’ ? The price looks high, but keep in mind where you are! How many opportunities to buy Lobster Mushrooms FRESH exist in Nashville? I NEVER seen anyone else offering them, not anywhere, not anyhow… and yet they are a highly sought after wild food, it can NOT be cultivated and is generally NOT found in middle TN in anywhere near the quantity I have for sale.

To hunt (forage) anything from 1100 miles away… well, its hit or miss really, and this year I got the bases loaded (with 12# of FRESH Lobster Mushrooms) and my slugger up to bat, (offers advertising the Lobster Mushrooms) down by 3 (sales are down 30% this year) bottom of the 9th with 2 out, and a full count to boot. This really might be my last big foraged offering, its a lot of effort, time, and a little $. I love foraging, and I will keep going, just maybe not at the level to able to offer goods to restaurants.

NEXT – Vegan Lobster bite Hushpuppies!

Posted on Leave a comment

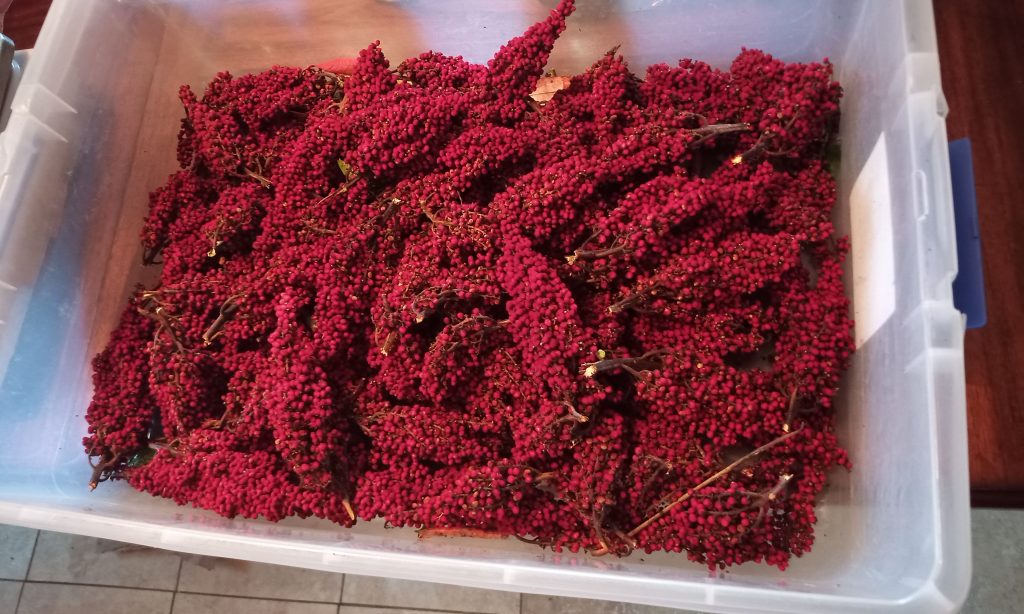
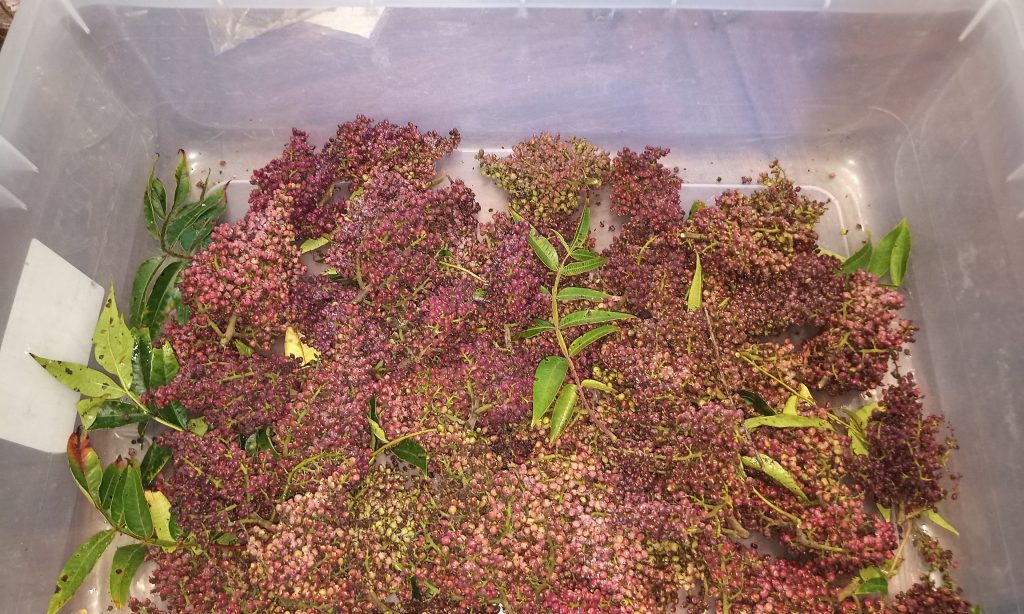
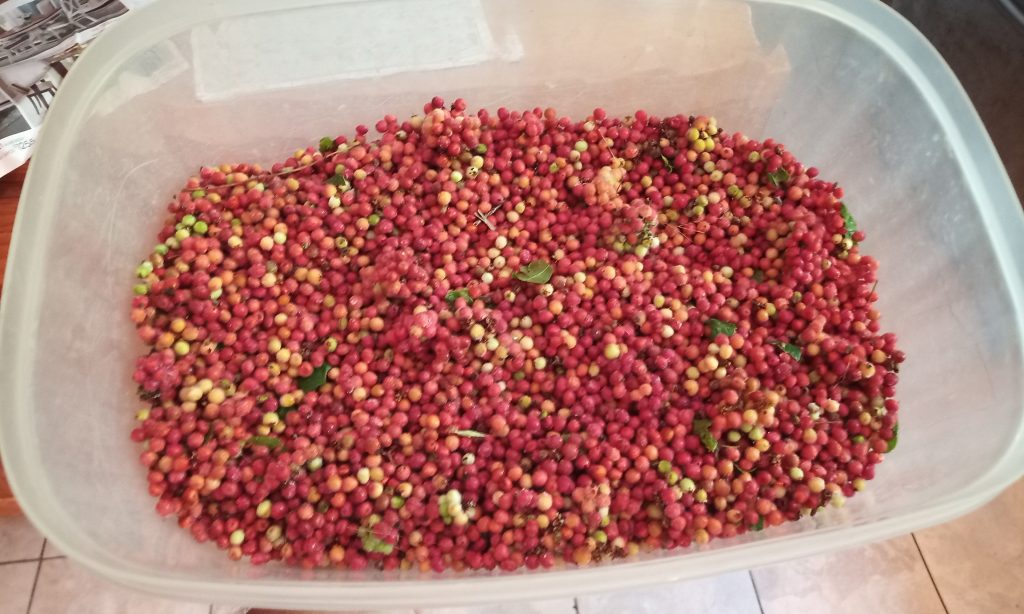
All Sumac is NOT created equal

In Southern Middle Tennessee, we have 3 edible Sumac varieties, all have their distinct qualities, and they start in May and fruit all the way thru September.

  • Fragrant Sumac
  • Staghorn Sumac
  • Shining Sumac

Pictured above, starting at the left, we have Staghorn first, this is the most common widespread and well-known sumac. It is also the least exciting from a culinary standpoint. Growing in a relatively narrow and long “horn” they stick up above the foliage mid-summer and last longer than the others. The taste is mild citrus and the berries are 99% pit with a little coating of red powder which adds more color to the experience, for the “pinkest” lemonade.

In the middle is the amazing Shining Sumac. The largest “horns” of the group, these look much like miniature grape bunches, they have a purple color, and hang pointing down on the tree. They come last in the season, not mature until August, and they are gone within a month or so. These produce a large amount of yeast and have a very sharp high acid citrus taste. They make the most flavorful “lemonade” but they wont turn your drink pink.

On the right we saved the best for last, Fragrant Sumac. The first to appear, they are often ready to harvest in May but will ripen and persist thru the summer. Growing on a much smaller shrub style plant, and producing 3 fingered corms rather than horns, this is the rarest, least known and most wonderful culinary delight. In Turkey this is harvested, dried, and ground into “sumac” seasoning, used to tenderize and season meat, most notable known as a primary ingredient in Za’atar spice blend. Fresh, these are just mind blowing, the yeast they grow is incredible, the pit remains small if harvested early and they make delightful little capers. They have a citrus taste with peppery notes.

Posted on Leave a comment

Do YOU Jelly?

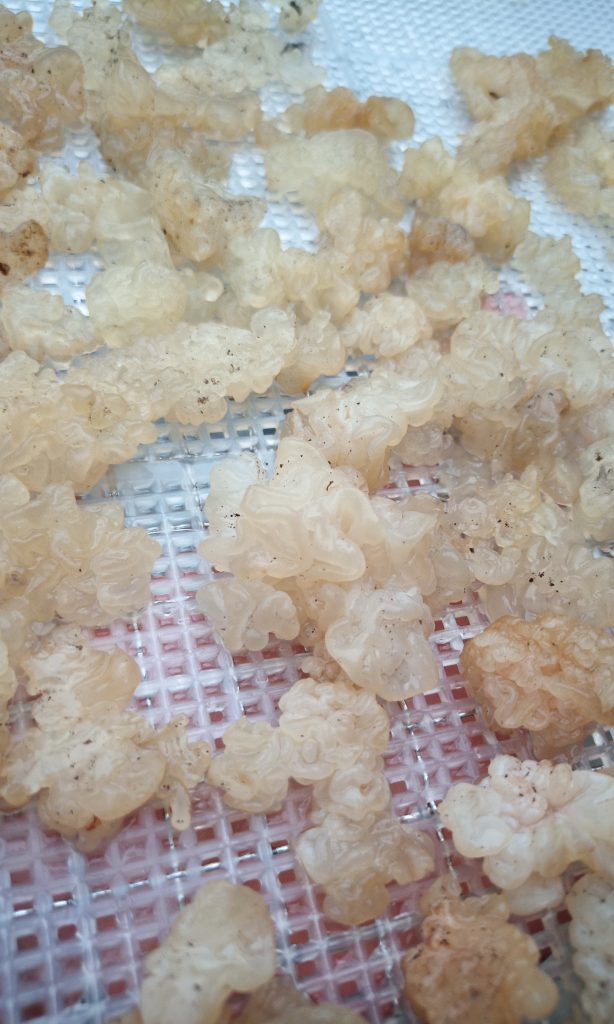
Black Jelly Roll, Snow Fungus and Wood Ear Mushrooms are foraging up right now!

Chefs, look for exclusive offer in your e-mail if you want to try some

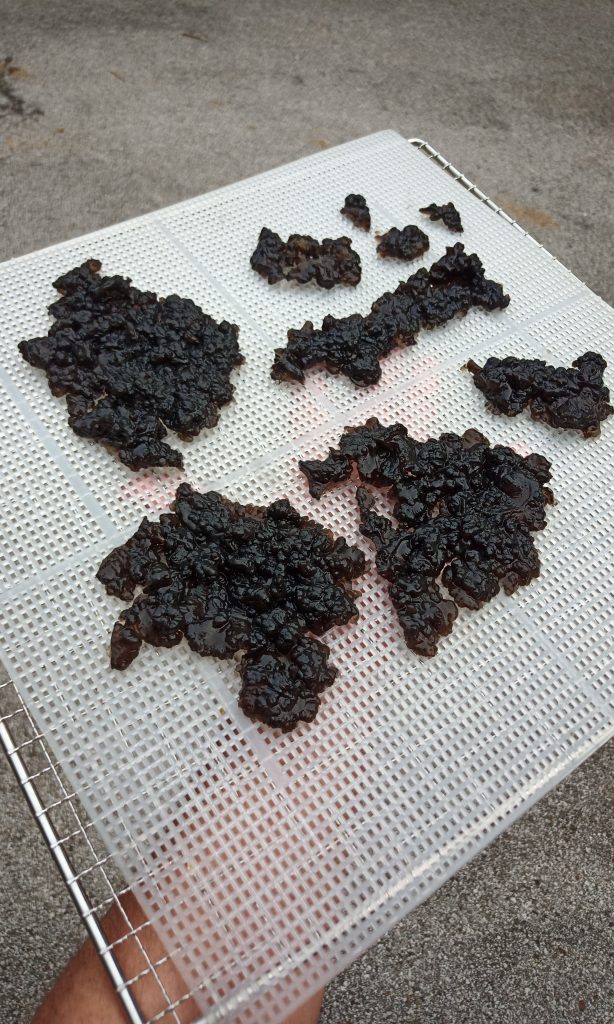
Most people ask, what do you do with that? I like to make candy’s with these! Jelly mushrooms dont have much flavor, and so they take on the flavor they are cooked with, common uses are for sweet curry, pudding, and soups.

Posted on Leave a comment

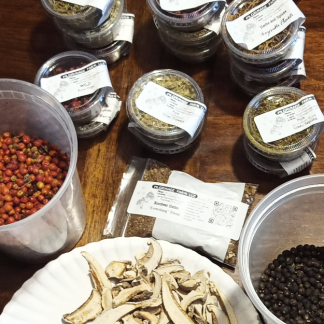
And the Season is up and going

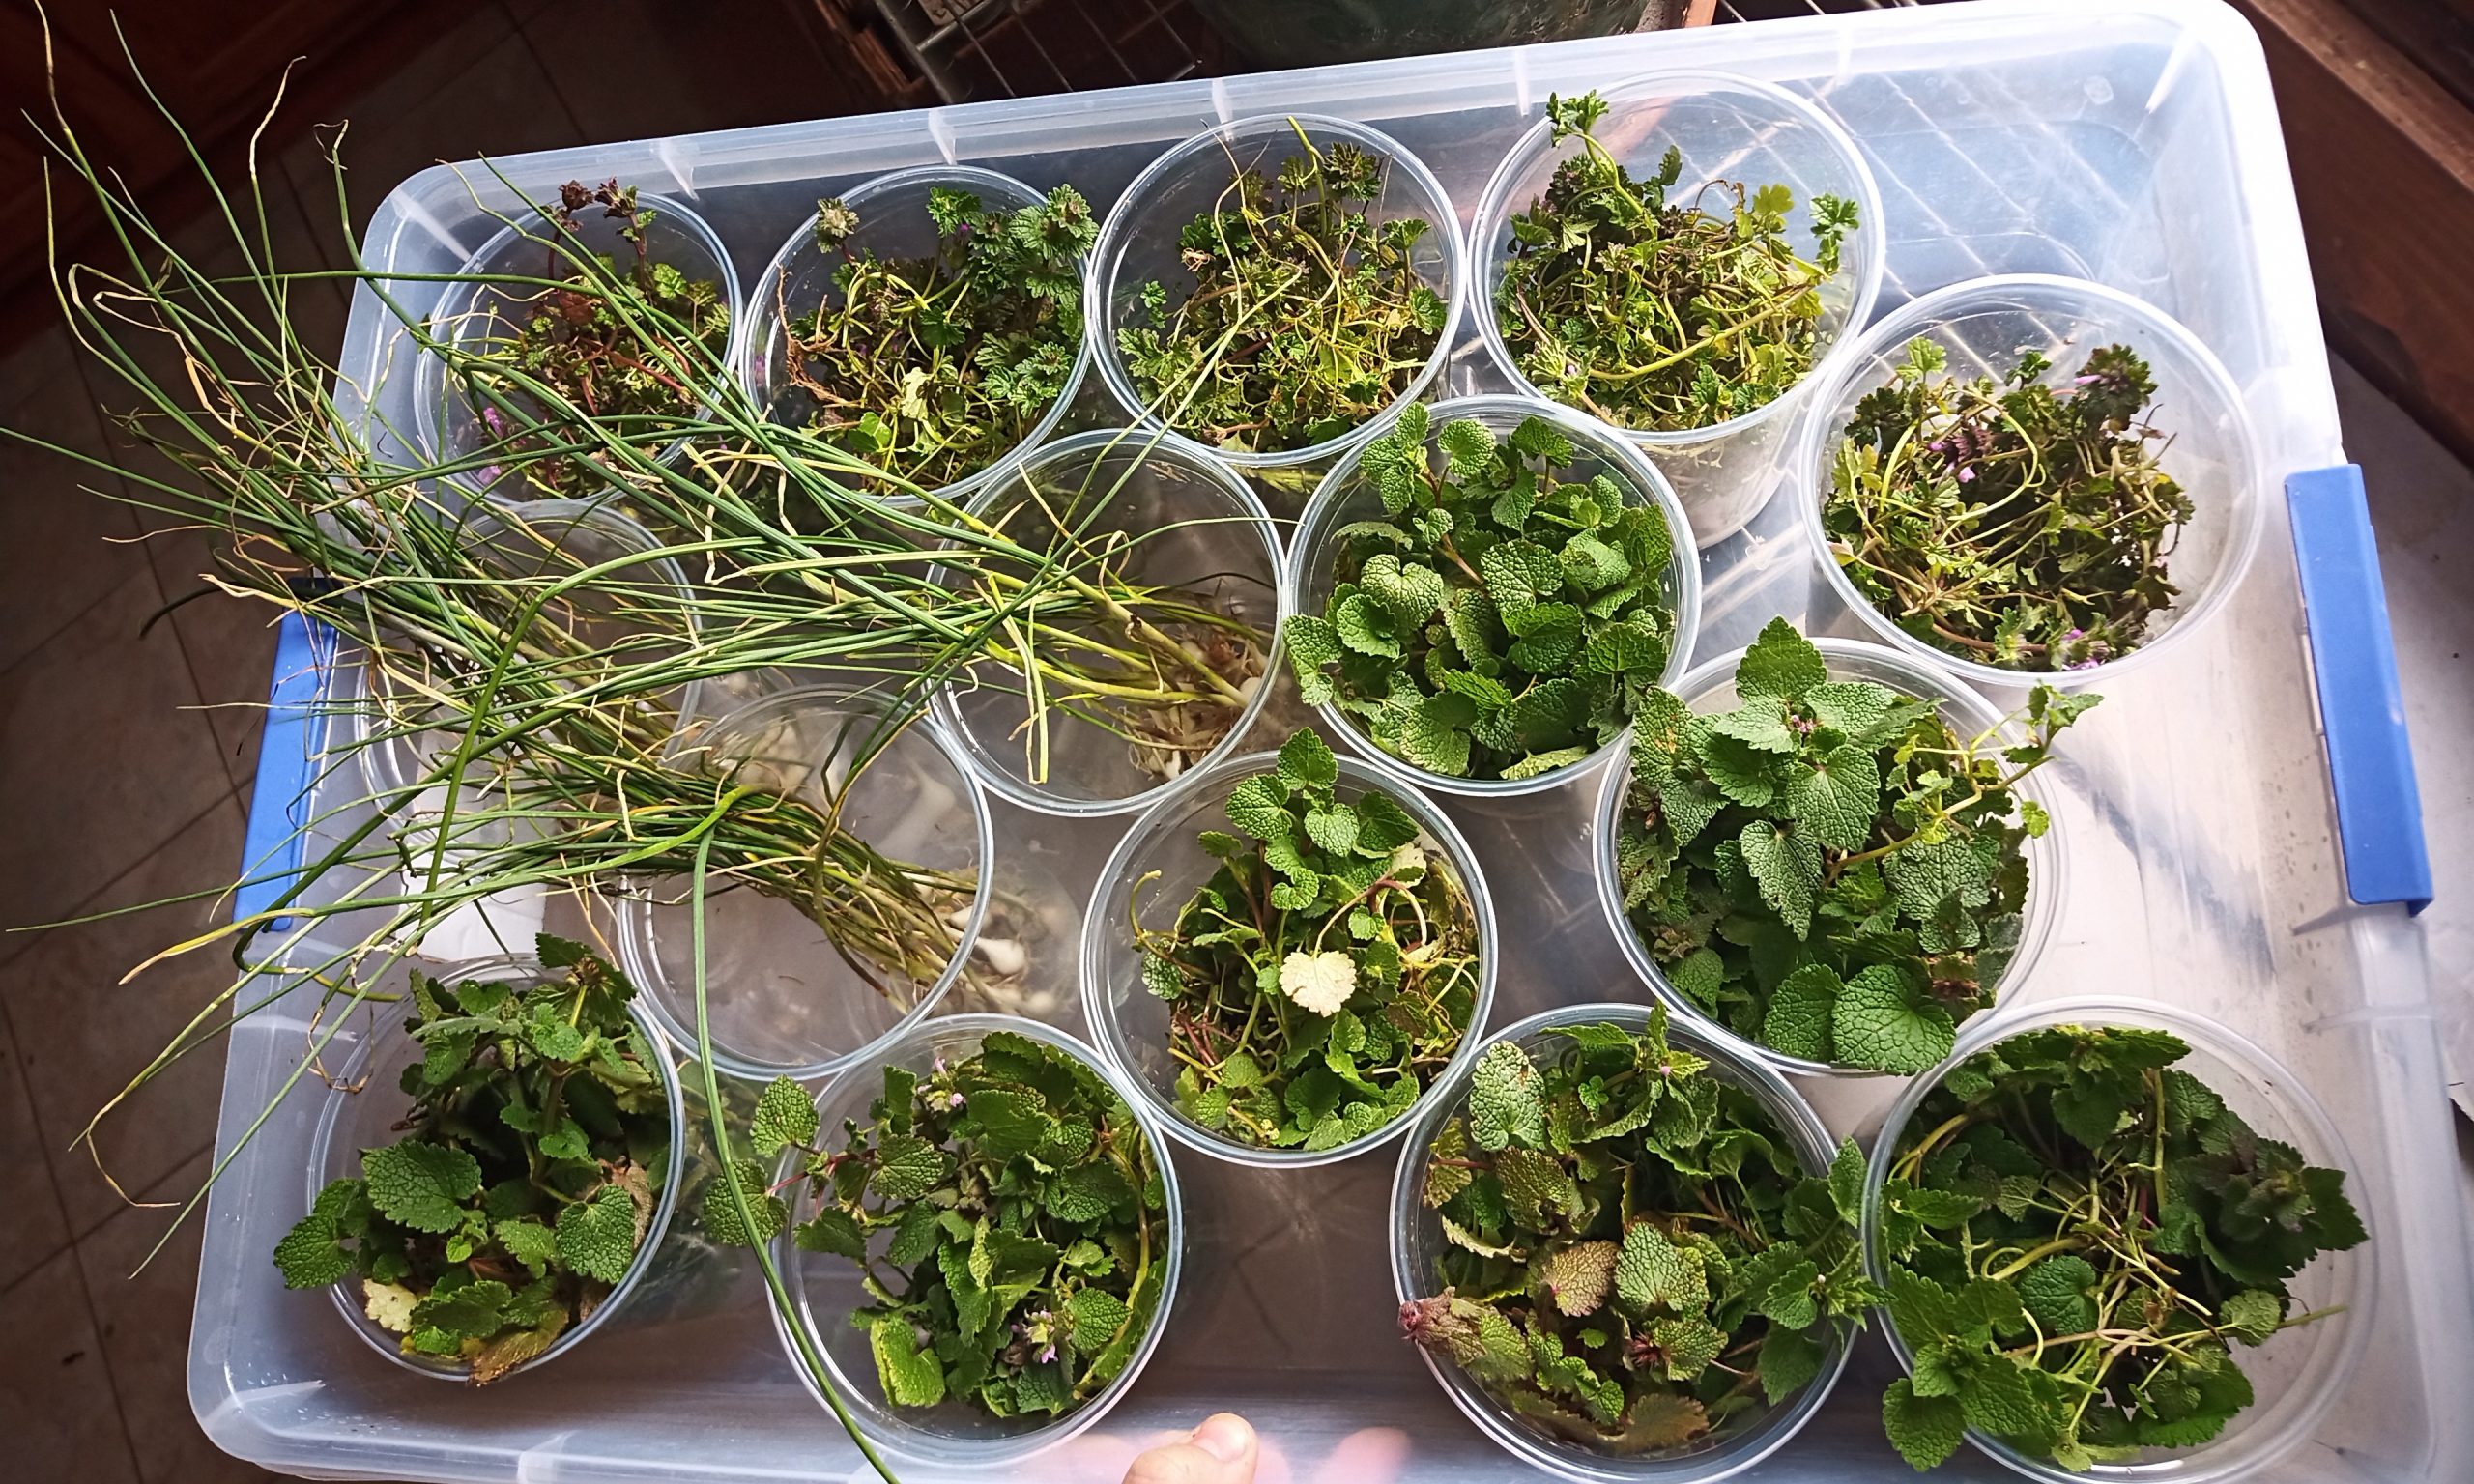
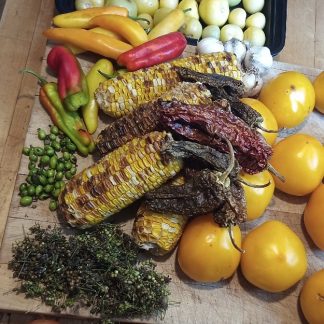
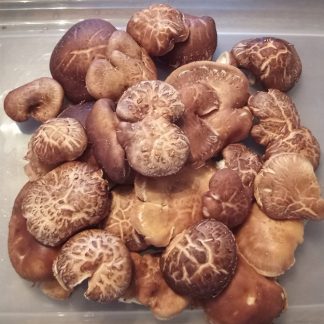
The Farm in Summertown always puts up a solid market and draws a healthy shopping group, the best diversity around for sure, and I sure do love participating in that. Today they had the season opener, and I Sold OUT of Shiitake, and Blue Oyster shrooms, don’t worry, there are plenty growing for next week’s markets. The Wild Kimchi was such a big hit it sold out early, pic below shows some of the ingredients. I will make another batch for Strong Oaks Market next week.