Posted on Leave a comment

Wild Herb “microgreen” Frittata

Eat the weeds!

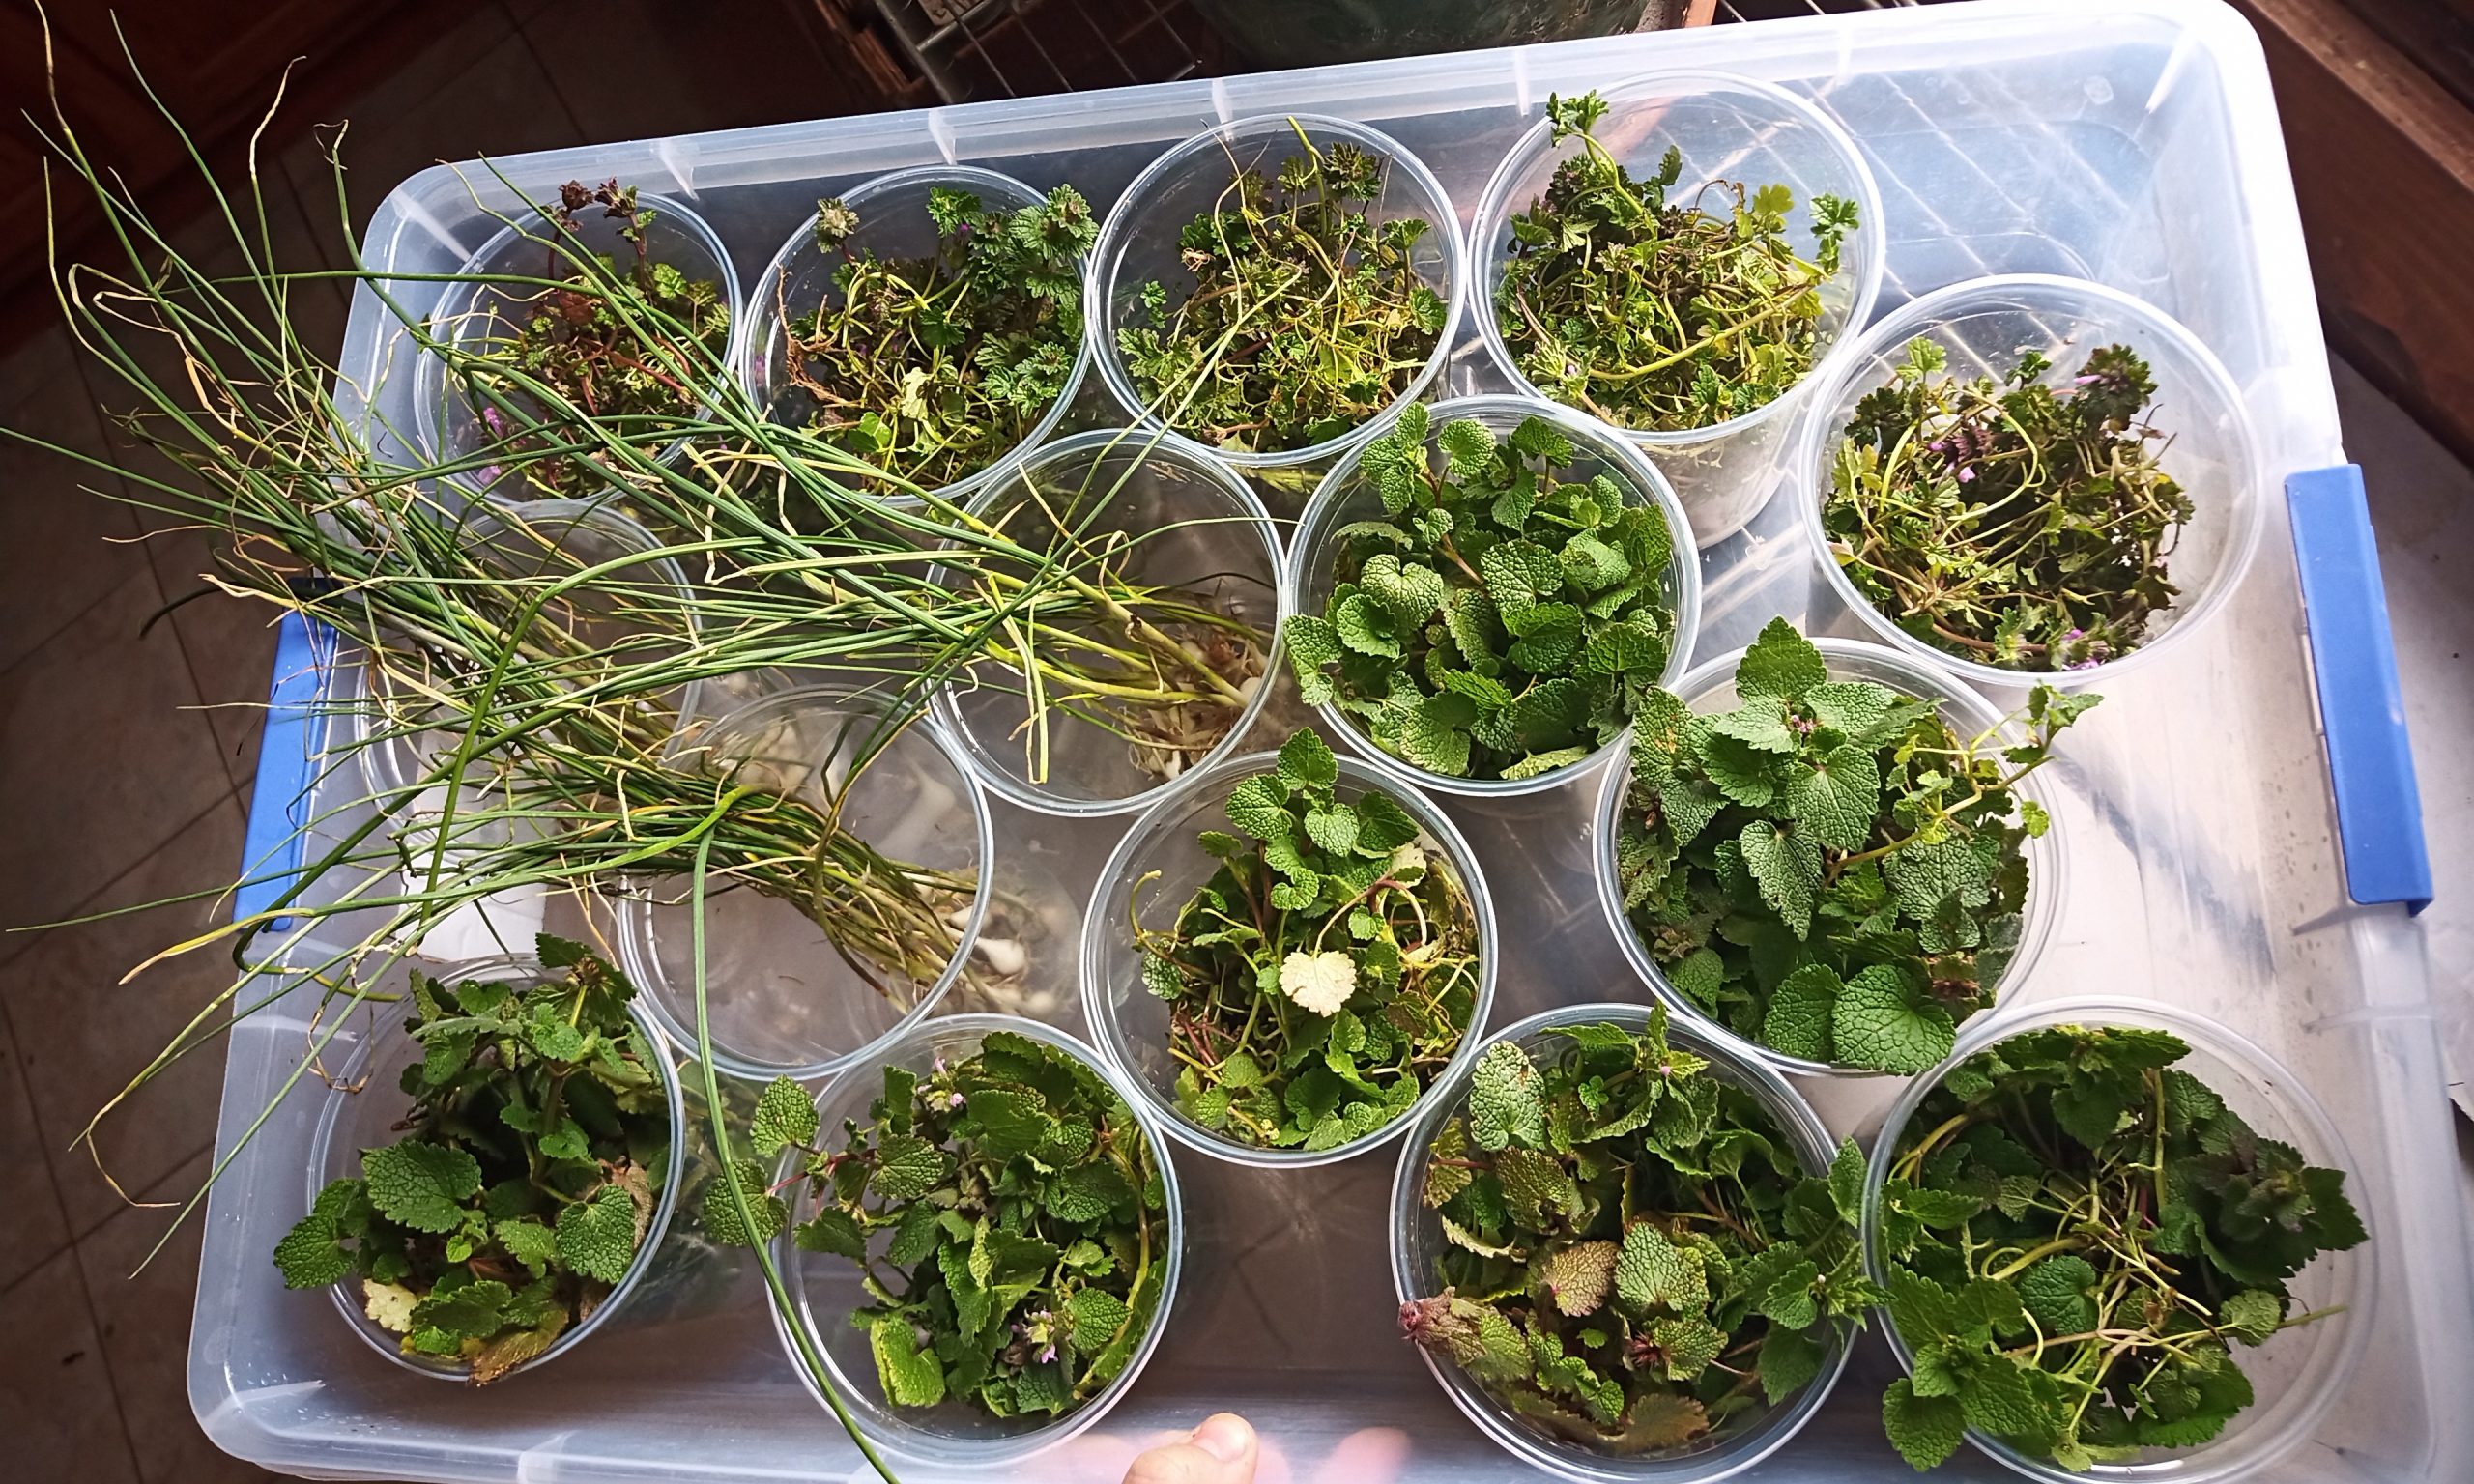
Spring is just around the corner, I often get the craziest looks this time of year. Henbit, Dead Nettle, Crow Garlic… people look and exclaim “but those are just weeds!” Yes, that’s right, they are. This time of year is special and important to our health, many cultures, traditions, and religions prescribe fasting during some period in the spring. The long months and short days of winter are nearly past now, naturalists have been living on preserves from last season for a time now and we need a boost of fresh nutrients. God provides, suddenly there is an eruption of natures microgreens, Henbit, Dead Nettle, Crow Garlic just to name a few of my favorites. Why am I calling THOSE WEEDS “microgreens”?

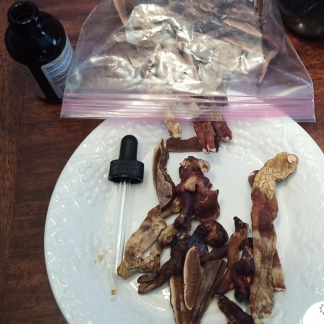
Nutrients, flavor, size and quantity. These wild greens are best when harvested early in the season, just after their first flowers bloom and before pollination can occur. Also, before anyone upwind of you sprays any bio-hazardous chemical on their industrial carbon pollution pumping “farm” fields. Seriously though, always check your wild harvest weeds for overspray, chemical damage is readily apparent on most of these, after all, they are the “enemy” of “modern” farming.

Only collect healthy looking, good smelling weeds for consumption, and eat them before any wilting can start. Wash you weeds twice, I recommend this practice with all wild food.

Recipe

  • 1 1/2 oz Henbit
  • 1 1/2 oz Dead Nettle
  • 1 oz Crow Garlic
  • 3 Eggs
  • 3 Tbsp Cold Water
  • 2 Tbsp Butter
  • to taste Salt

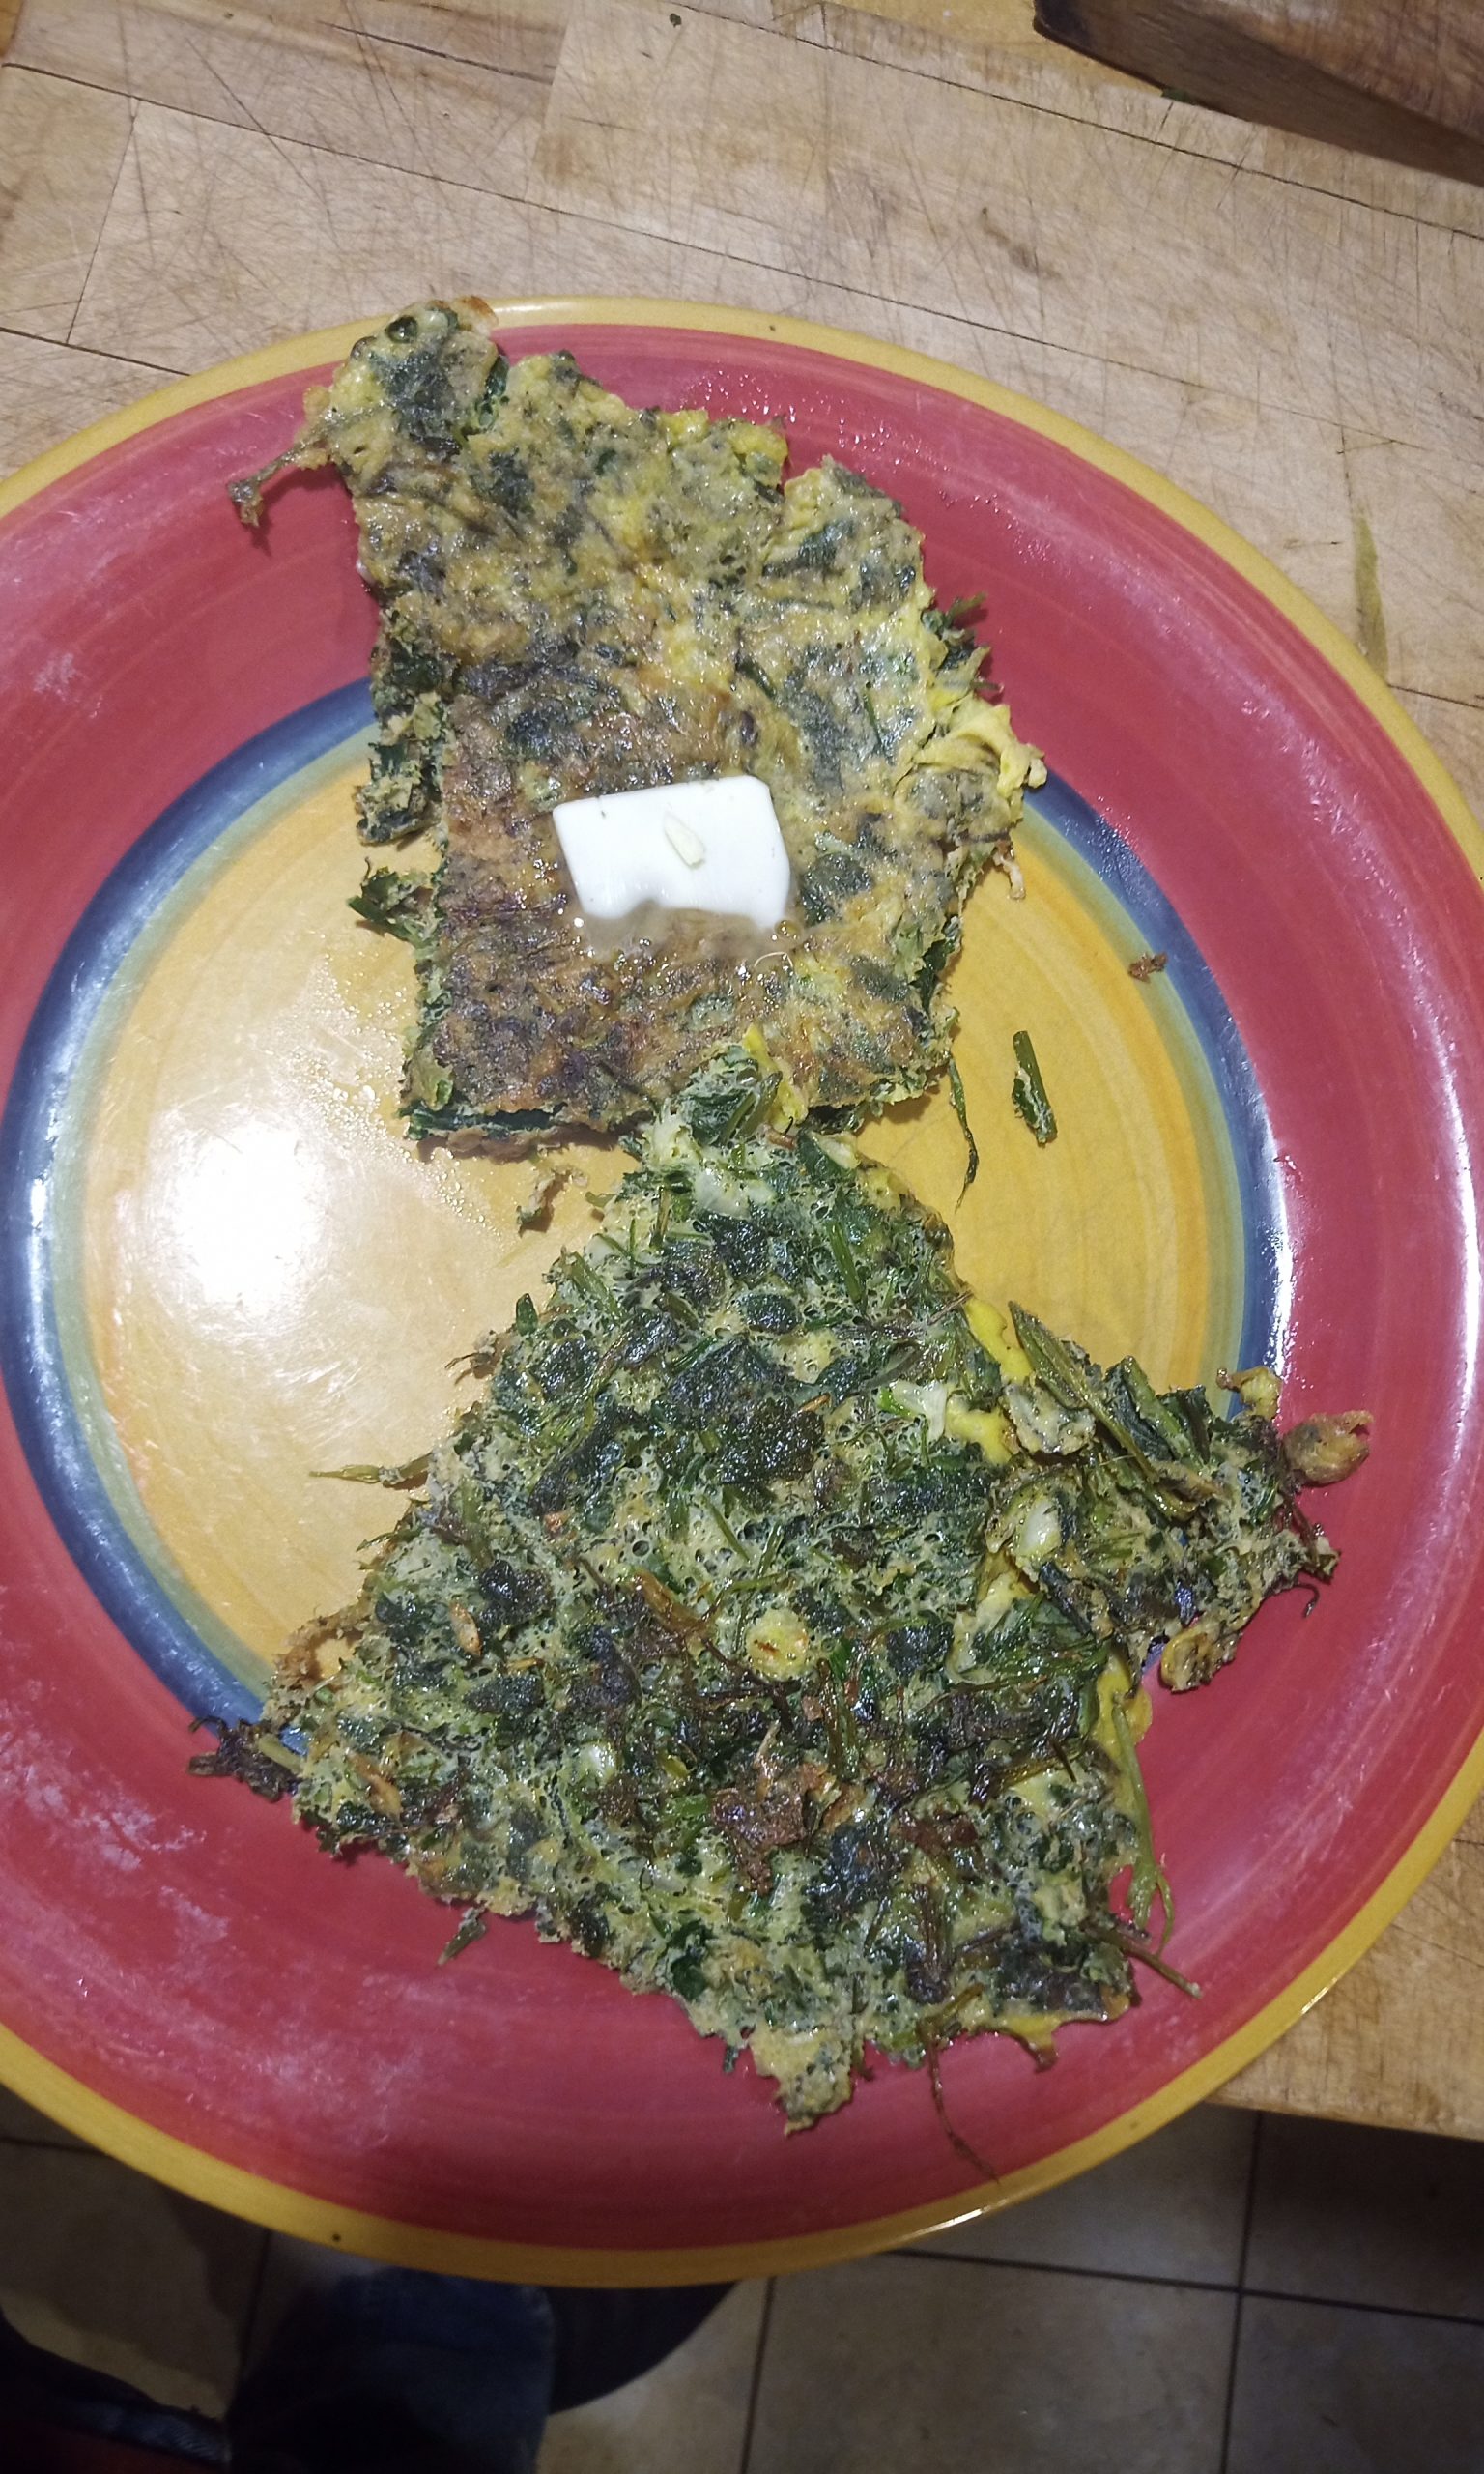
This fresh herb frittata is made in the Persian style, its a simple preparation and differs slightly from traditional KooKoo Sabzi, mostly in the cooking of it.

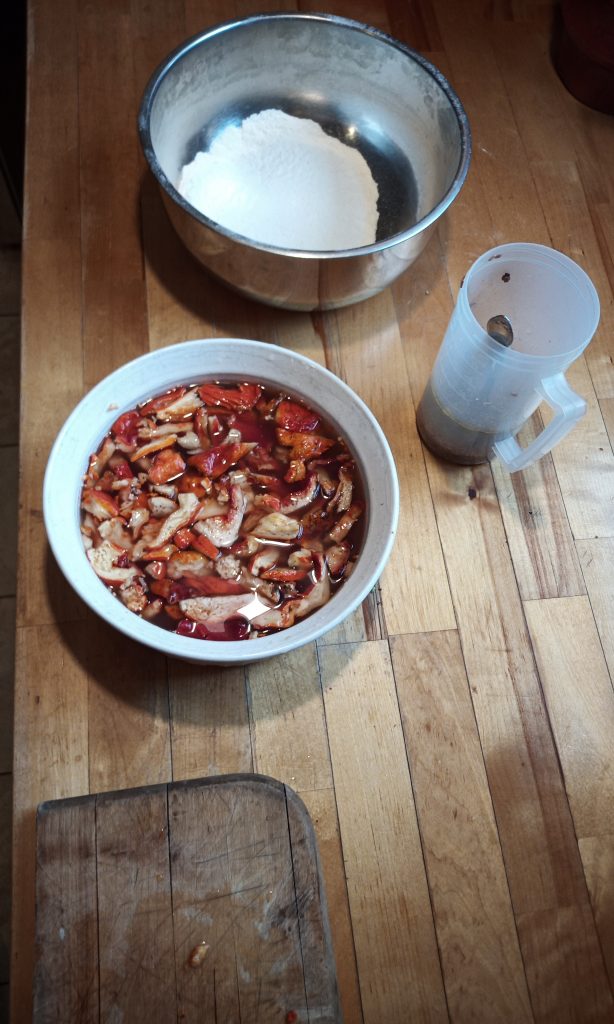
First, wash your wild greens, remove any dead leafs, trim the stem at the root, wash in small batches one ingredient at a time, spin dry in a salad spinner and set aside on a perforated rack.

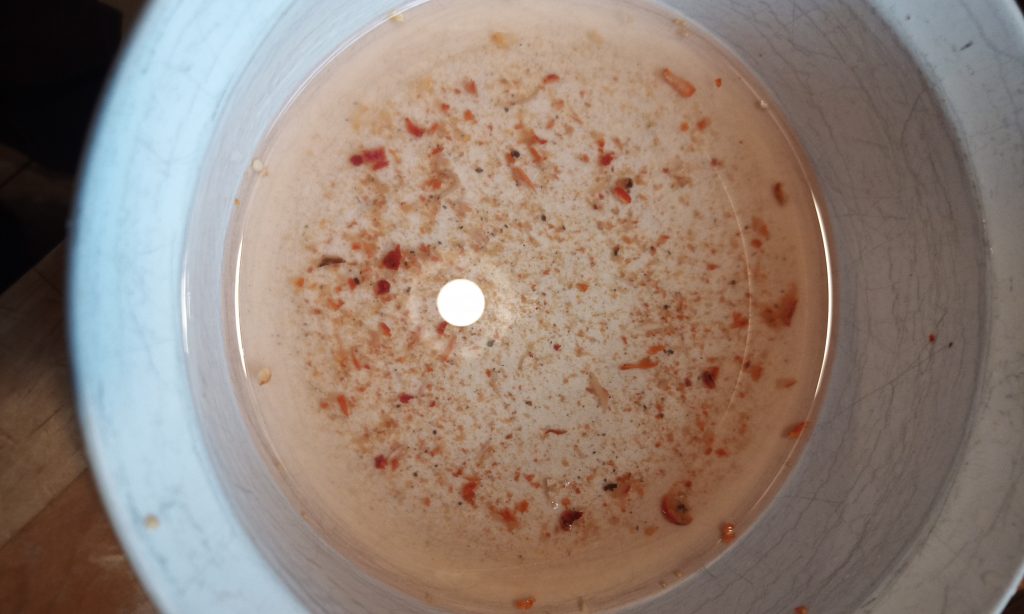
Next, you should go ahead and bring the 3 wild ingredients together in a large salad bowl and rinse them with another quart of water or so, you will notice how much dirt was left after your first “washing”. Now, you may wish to repeat a 3rd time, its up to you, I find this normally sufficient, so I spinn-off the greens again, and set aside to drip dry while I gather my remaining ingredients and utensils. Resist the urge to blot dry your greens for this recipe, the extra moisture here will help make sure your greens come out nice and tender.

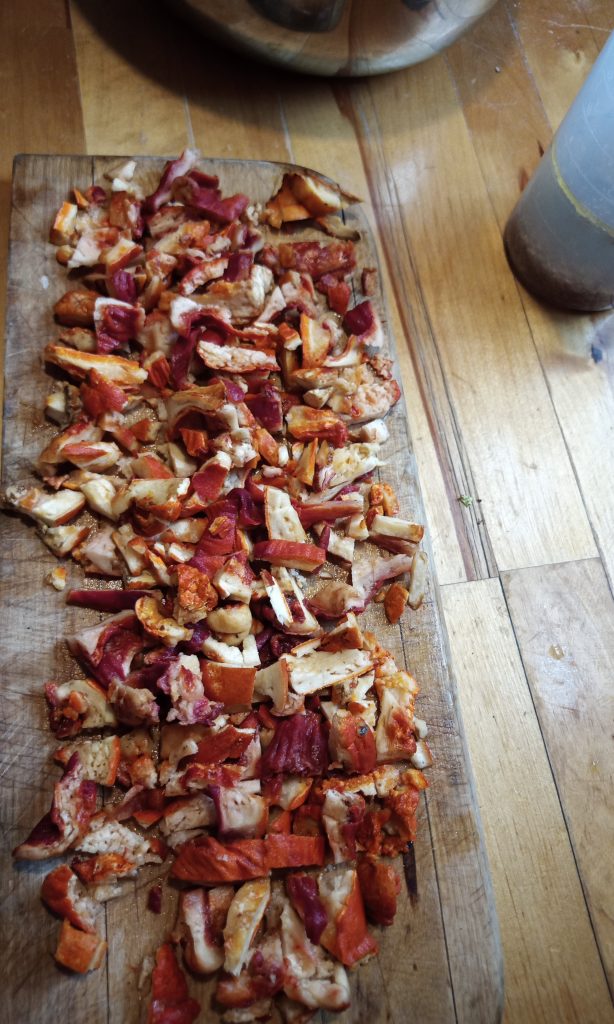
Now that everything is clean and on hand, go ahead and chop the wild greens. Start with the Crow Garlic so its flavor has some time to develop, I like to smash the clove with the side of my knife, then dice the whole thing fine.

Cutting the remaining greens can be done together, in about 1″ lengths, then turned 90 degrees and repeat, use your best judgement here based on the size of YOUR wild greens, you want them small enough so as not to “poke up” when you make the dish. Combine the chopped greens and the diced Crow Garlic in a large bowl and mix well.

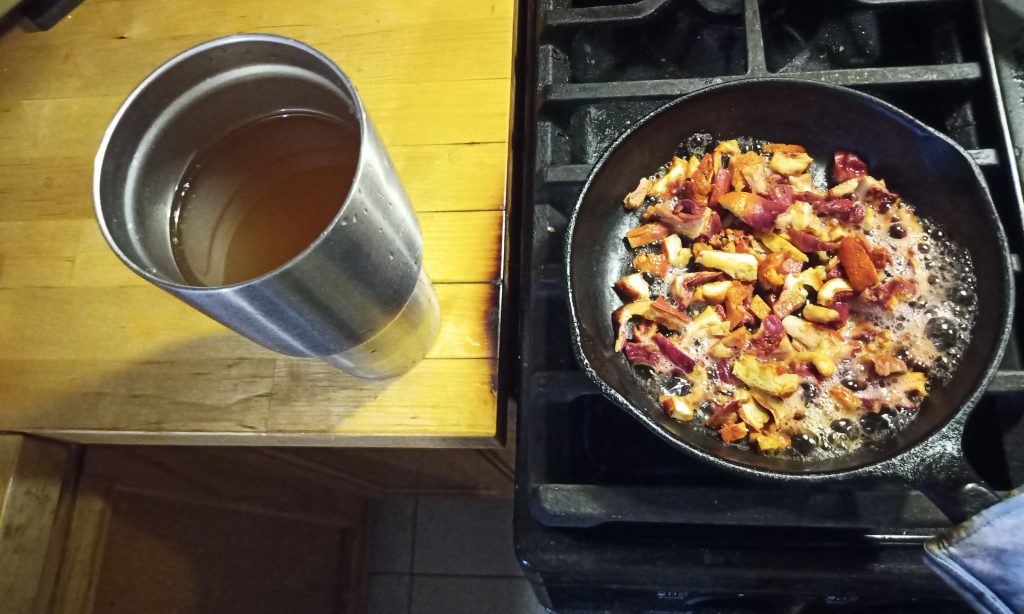
Crack the 3 eggs into a medium bowl, add the water and salt, whisk vigorously to introduce air for a nice fluffy frittata. Go ahead and get a medium to large skillet hot on medium heat, and melt half the butter in it, coating the bottom. Fold the egg mixture into the chopped greens and immediately transfer to the skillet, cover, reduce heat to med-low and allow the disk to cook until the extra water has been completely evaporated, about 6 to 8 minutes. This is a long time to cook eggs, however its a relatively short time to cook wild greens. The long cooking time here ensures the greens steam nicely and become very tender.

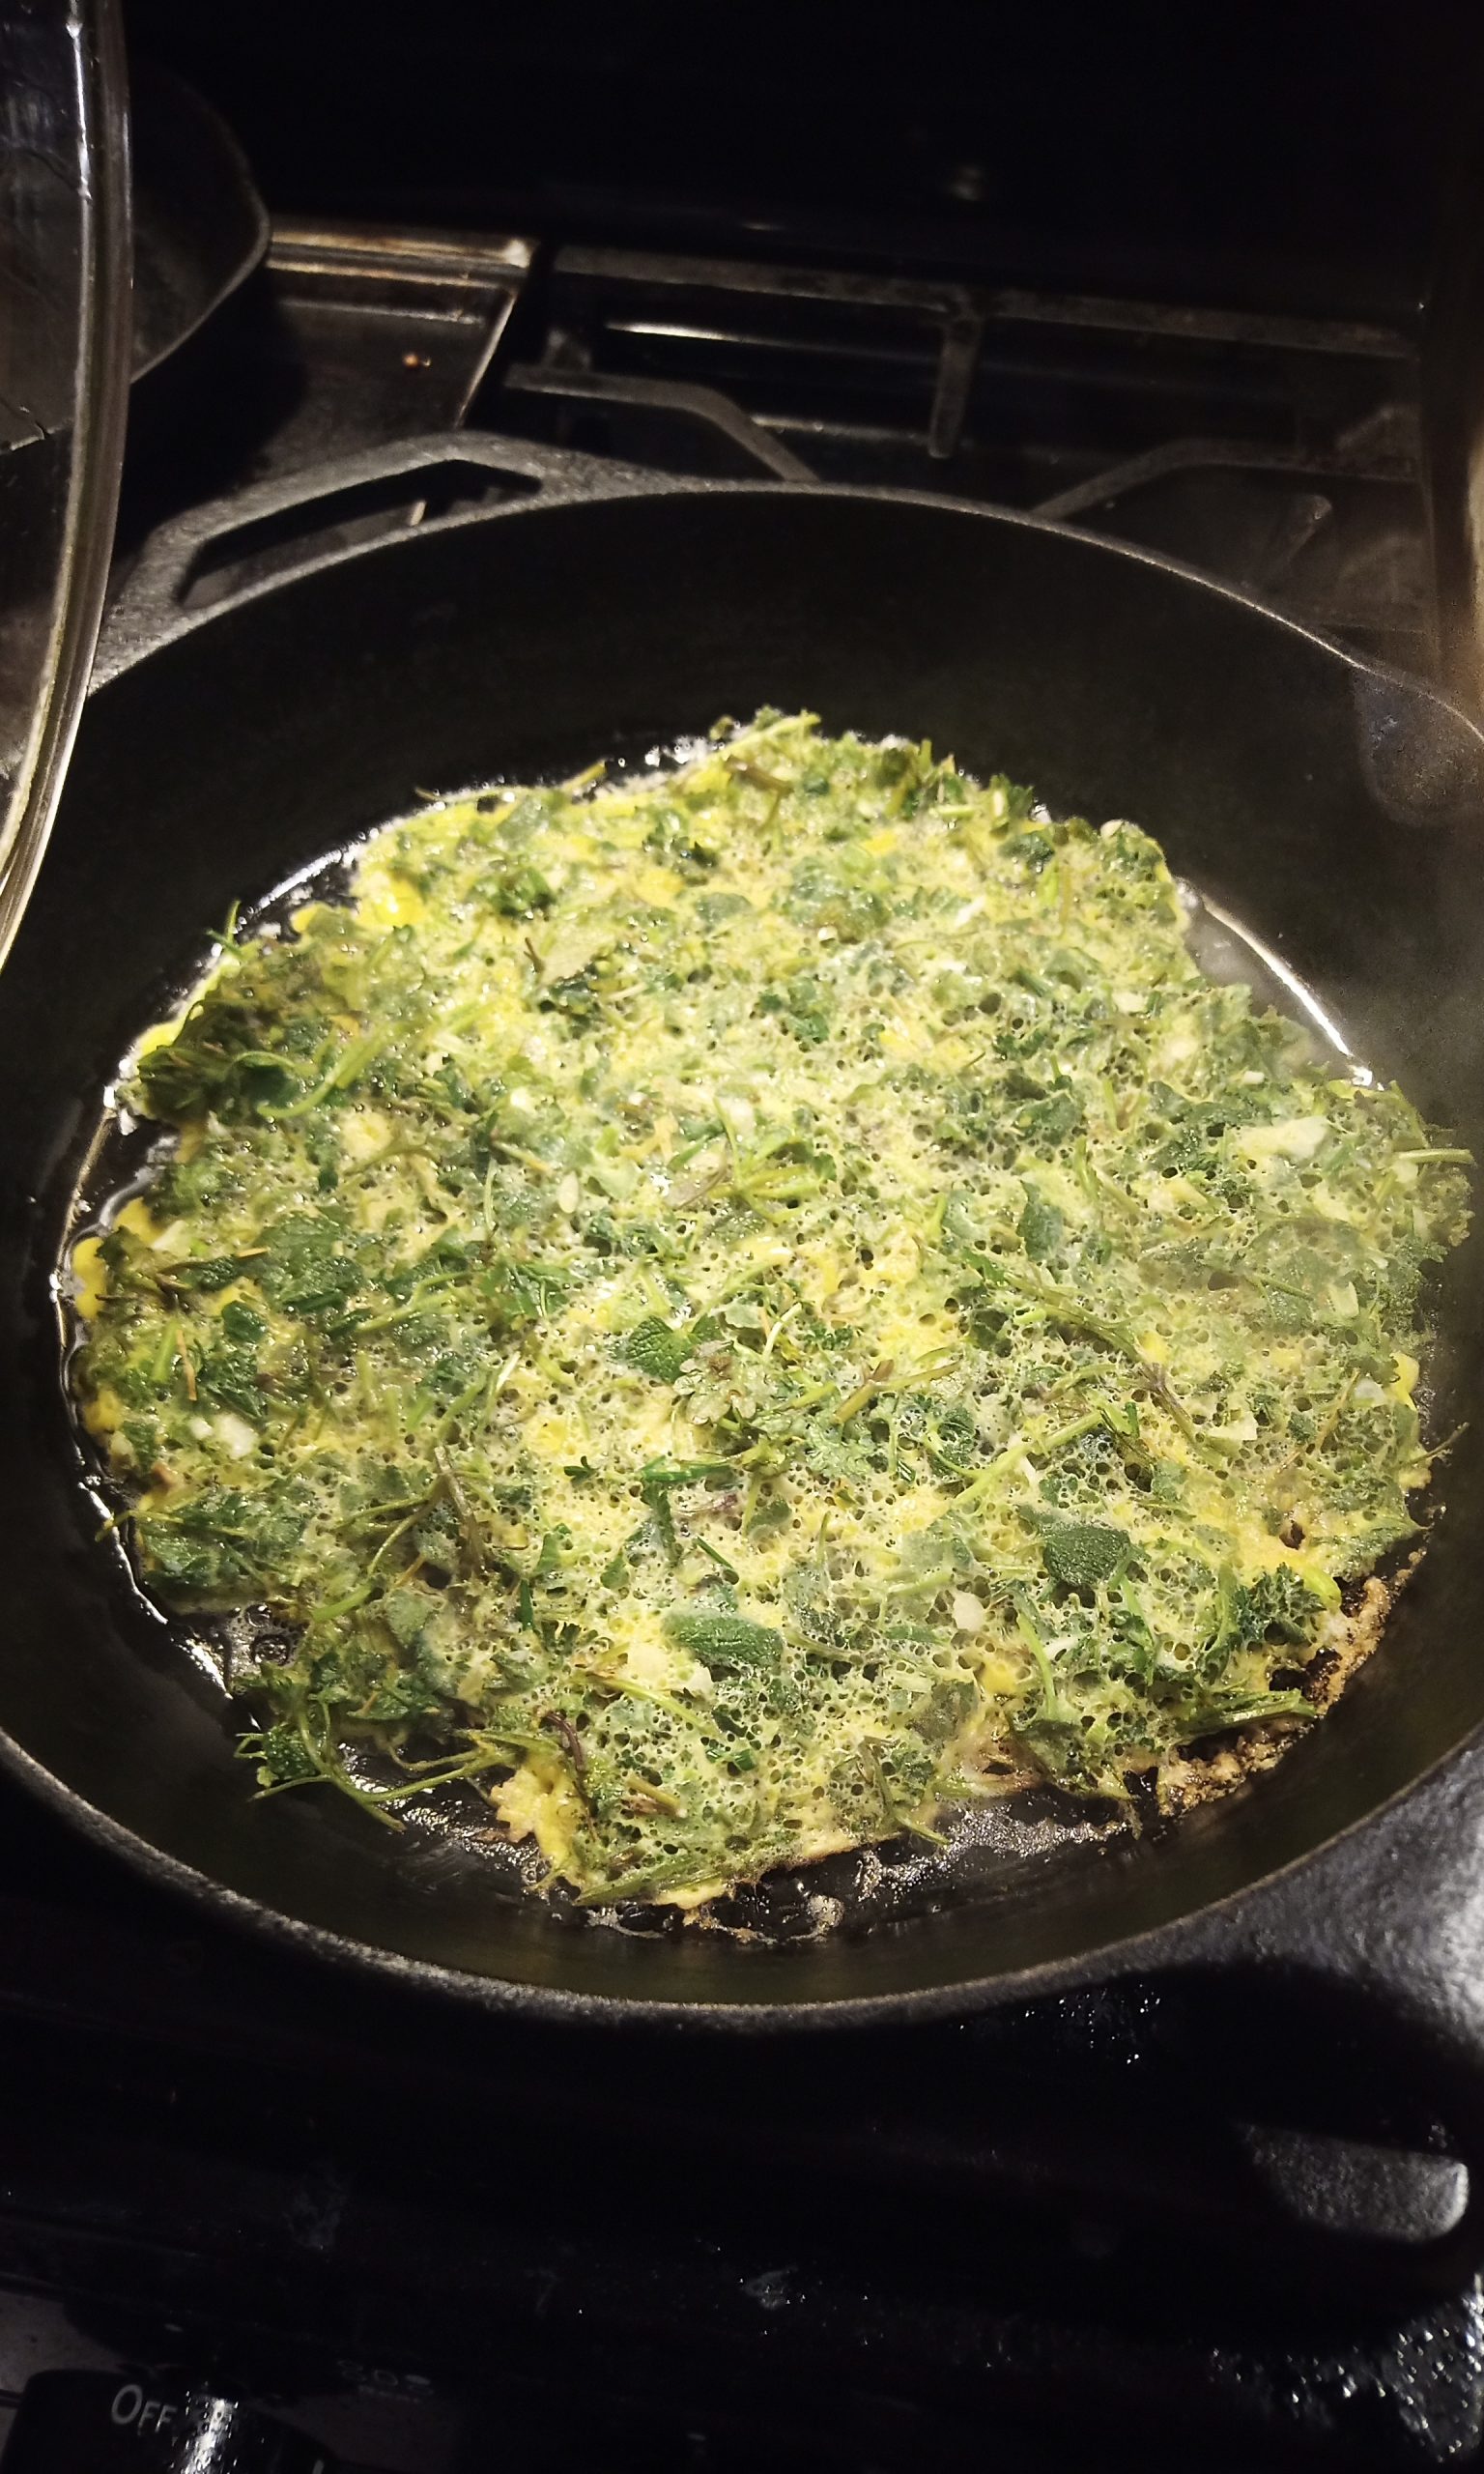
When all the extra water is gone, turn the heat up to med-high, remove the cover and start checking the edge around the skillet for browning. Now you have some options, you can finish this several ways. Start by adding the remaining butter sliced thin to the top of the dish. The simplest finish is to place this in a hot oven at 425 and bake to desired finish on top.

Another method is to flip it in the skillet, cover and brown the 2nd side. You can add cheese on top and place this in a broiler for a quick hot finish also.

Slice this like a pie and it will serve 4. I like to pair this with some bulgarian white sheep cheese and a warm flatbread such as naan or lavash. Garnish with some fresh sage, basil, and parsley sprigs and voila! Bon Appetit!

Posted on 1 Comment

Pop! or Soda?

Fermenting with home grown ginger bug

Honestly, I dont remember which way mom thought it should be, I think she said that soda is just seltzer water, and pop is the sweet bubbly drink. She married a man when I was like 8 and he said the other one… Either way, what I make at home is really neither. I will lay out my method in 2 stages, a basic recipe for the base, and then seperate herbal recipes to use with the base. Below is the recipe for the base, you can scale it, maintaining the proper ratios to suit your needs. Sugar is actually really important in this, the bug needs food, and you are going to kill off most of the food it would eat in the process, so sugar is needed to affect the fermentation process. If the end result is too sweet for you, then after fermentation is complete you can simply add some cold water when serving to taste.

Part 1, the base recipe

  • 1 Gallon Water
  • 2 cups sugar
  • 2 oz fresh ginger
  • 1 cup Ginger Bug (pre made)

Ginger Bug is easy to catch and keep, there are a million blog entries on how to do that so I will ask you to get up to speed with that and have it on hand before proceeding to make this recipe.

Simple, just use filtered sterile water add the sugar and dissolve it completely then boil the mixture. Clean the ginger well, but do not peel it. Now get your Ginger Bug ready, if it is in the fridge, take it out, feed it a little sugar, shake it up good and set in a warm spot to boost the growth while your cooking the mix. When your mixture is boiling good, remove from the heat and grate in the fresh ginger, and add your prepared herbs from the part 2 recipe. Cover and steep the brew until cooled below 90 degrees F.

Once you have on hand basic ingredients, like the Ginger Bug starter, sterile water, sugar, and ginger you can get creative with your own blend of herbs!

Part 2, Herbal blends

Spicy Birch (mushrooms)

  • 1 oz Chaga mushroom chunk
  • 1 oz Birch Polypore mushroom dried
  • 1 oz Appalachian Allspice dried

Wild Flower Herbal

  • 1/4 oz Golden Rod flowers dried
  • 1/4 oz Honeysuckle flowers dried or wild Rose Hips
  • 1/4 oz Yarrow flowers dried
  • 1/4 oz Green Sassafras sapling bark dried

Wild Berries

  • 1/4 oz dries Fragrant Sumac berries
  • 1/4 oz dried Eastern Red Cedar Berries
  • 1/4 oz Green Sassafras sapling bark dried

Everything

  • All the above ingredients combined ground into a coarse powder, I use about 1/4 cup per gallon

YOU can make your own blend too! The basic requirements are met entirely by the part 1 recipe. I like to use all dried ingredients for the part 2 herb blend, not fresh. It is important to remember a few things when brewing a Ginger Bug soda.

  1. dont kill the bug… make sure your bug is healthy and hungry, awake and ready to feed. I check the temp of my brew with a cooking thermometer before adding the bug.
  2. dont kill the herbs, the dried herbs should reach a good pasteurization temperature by adding them after the fresh ginger has been grated into the water just after boiling stops.
  3. CLEAN and well sealed containers for fermentation are critical, and remember that plastic is ok to use, but can explode under the pressure created in a stout sugar ferment.

Choose your container carefully, be sure that you will fill the container over 90% full. Swing top glass bottles are probably the safest option, I hate having to pack the fresh grated ginger from the bug in thin neck bottles so I like to use half gallon food grade plastic jugs with a wider mouth. You can use plastic, just be sure to burp it if it starts blowing up like a balloon.

Now that your brew is cooled down, your bug is ready and your containers are clean you want to have the prep all done, and hopefully the workspace is recently cleaned and aired out. Setup a mesh strainer on a large clean pitcher and strain off the herbs from your brew, I like to drip dry my herbs and dehydrate for use again later. Time to give the ginger bug one last stir and add it to your brew, complete with the pulp. Stir the mixture and distribute to your bottle or bottles, again be sure to get some pulp in every bottle and fill the bottles about 90% full. When full, go ahead and wipe the tops clean with sterile paper towel and close/seal. Ferment your brew in a warm and relatively dark spot, I like to set mine on a slight incline on top of my fridge, a dishrack works well for this. Check your ferment every day if using a plastic bottle and burp very carefully if needed. If you ever do expand a plastic bottle like a balloon, discard it after your done with that brew, it is NOT safe to use that bottle again.

3 to 5 days later

Posted on 1 Comment

Vegan Lobster Bite Hushpuppies

  • Corn Meal 1 1/2 cup
  • Flour 1/2 cup
  • Baking Powder 2 tsp
  • Baking Soda 1/2 tsp
  • salt 1 1/2 tsp
  • water 1 cup + 3 tsp
  • falx seed 2 tbsp
  • Lobster Mushrooms 1/4#
  • olive oil 1 tbsp
  • Chile Pepper 1 each

First step in working with lobster mushrooms, or any wild mushrooms is to cut, clean, and evaluate them. Typical findings of some evidence of insect damage is normal, when working with lobster mushrooms, it is very important to soak the cut pcs in water prior to use, they always have some “grit” and that rinses right out when done properly.

Now that you have the mushrooms “soaking” you can do the remaining prep. Combine the water, room temp is fine, and the flax seed, add olive oil and set aside to thicken. Next, sift the dry ingredients together. Finally chop the chile fine.

After about 20 min, the lobster mushroom pieces should be cleaned up, gently tap them in the water and then lift out and transfer to cutting board. Now, strain all but the last 1/4 cup the soaking liquid and reserve. Heat a cast iron skillet over high heat and go ahead and chop the lobster mushroom pieces to fine pieces. Place the mushrooms in pan and allow to heat, add some reserved liquid and let cook until dry. Repeat the process until all the reserved liquid has been used, the mushrooms should now be a deep pink in color. Remove mushrooms to a plate and combine with chile pepper, place in fridge until completely cooled.

Heat oil 1/4″ deep min in a cast iron skillet to about 375 degrees. Combine the ingredients to make the hushpuppy dough. Spoon balls about 3/4″ in diameter into the oil, the temp will drop to 325 to 350. Cook 3min covered, then rotate, repeat 5 times for total cooking time of 15 min. Remove golden brown hushpuppies from oil, place on paper towel to absorb extra oil, let rest 5 min and serve with cocktail or BBQ sauce.

MAKES about 30 Hushpuppies, serving up to 6 adults

Posted on Leave a comment

Vegan Chile recipe

  • Dried Chicken of the woods mushrooms ~1 oz
  • Dried chiles, to taste, I use 2 large ancho chiles
  • 1 small sweet potatoe or apple
  • 1 medium red potatoe
  • 1 cup dried black beans
  • 1 cup dried navy beans or great northern beans
  • 1 medium sweet red onion
  • 2 tbsp #1 fine red Bulgar wheat (optional)
Ingredients for Vegan Chile laid out on counter
Several of the ingredients need to soak overnight in water

Start this recipe the evening before you will cook it by soaking 1, the two types of beans, 2, the dried chiken of the woods mushrooms and 3, the dried chiles in water overnight. Use enough water to cover the ingreedients after they are reconstituted.

  • after 8 to 12 hours the chicken of the woods is nice and spongy! Setup the coarse grate and grind the “meat” as shown below, reserving liquid remaining
"meat" grinder loaded with chicken of the woods mushrooms
Grind the mushrooms into ground “meat”

Next heat some oil in a large skillet, cast iron over real fire is what I prefer to use. Add the ground “meat” along with both taters and onion, all diced in small cubes, and fry untill fragrant over medium heat. Add the reserved liquid along with spices to taste, use the same spice selection that you would use for a meat based chile, salt, chile powder, cummin, corriander, and I like to add some ground sumac. Simmer this mixture until the onions are translucent, the taters are just starting to soften and the liquid is mostly absorbed. While the mixture is simmering, get the large crock pot going, add the soaked beans, but not their water, fresh water is prefered, about 4 cups is a good starting point, this chile will absorb more water than your used too, so dont be afraid of it apearing very thin at the early stages. Use plenty of salt, again the mushrooms will absorb more than you think. Puree the reconstituted chiles, and add them along with your “meat” mixture to the crock, stir and set crock to cook as slow as you can, but with a min cook time of 6 hours.

Beautiful vegan chile
Beautiful Vegan Chile